
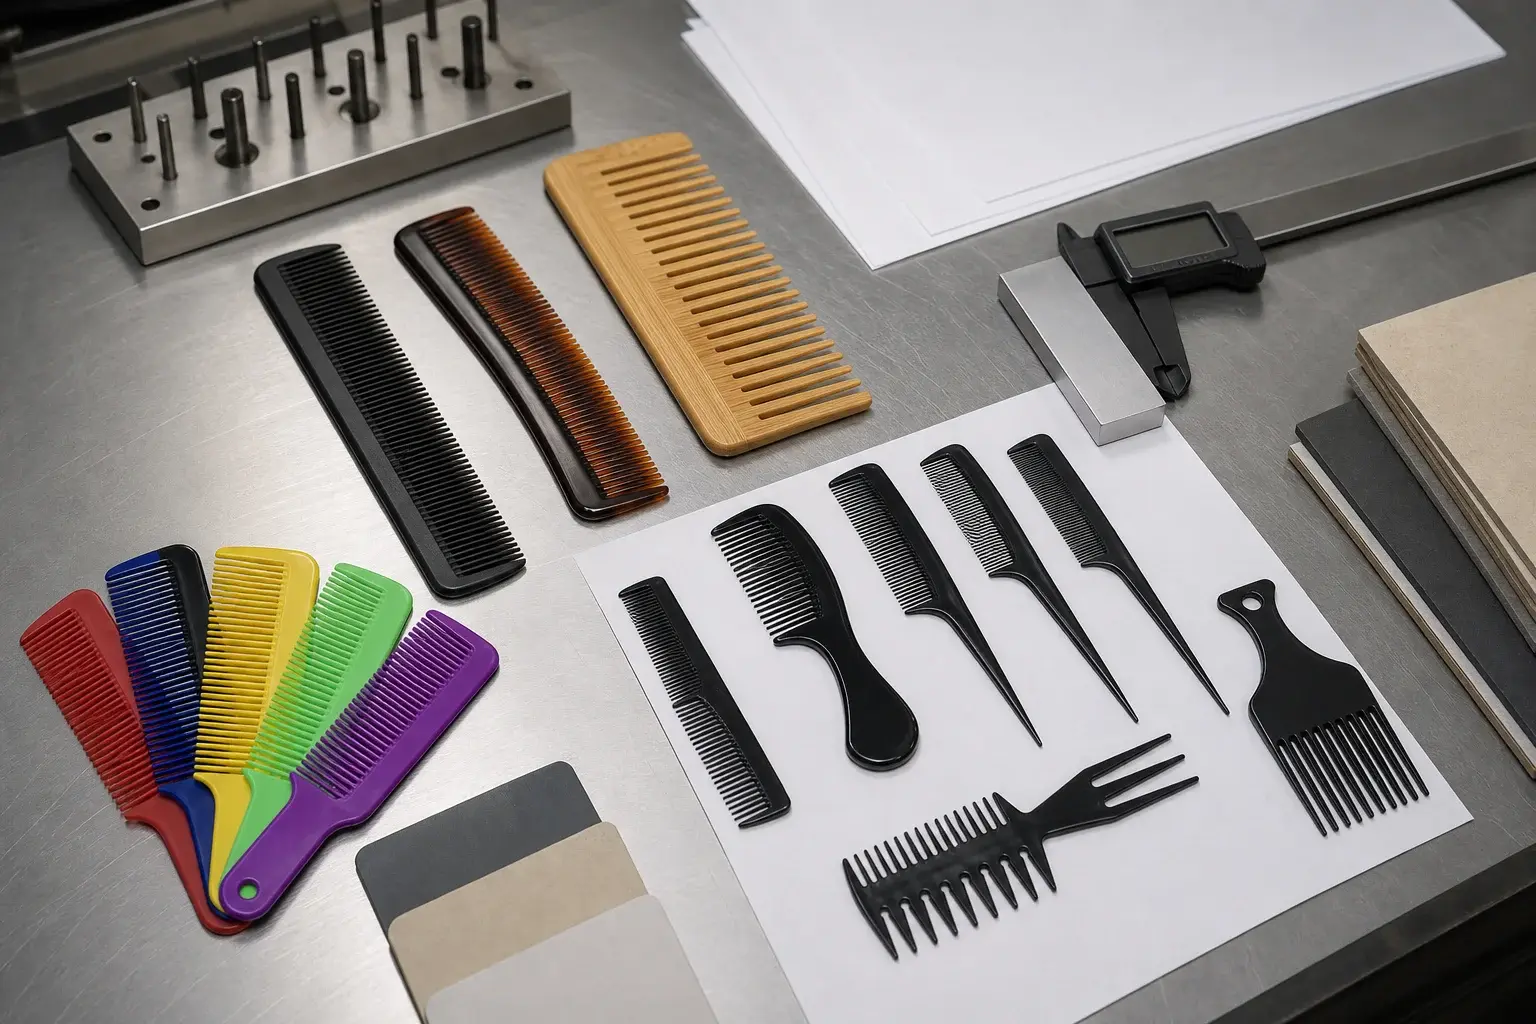
A comb can carry a neat overall length on its drawing and still be difficult to inspect. The endpoints may be unclear. A curved handle may change the result depending on how the part is held. A tooth spacing value may describe the open gap, the pitch or the tooth width, with no note saying which one the buyer meant.
Dimensional control begins when the drawing, physical sample and inspection record use the same definitions. The goal is to make every important feature measurable at the same place, by an agreed method, against the current approved version. Fine tooth and wide tooth remain useful product descriptions. They cannot carry that work by themselves.
Start with one controlled drawing
Use one current drawing to connect the product brief, sample review, production checks and repeat order. Give it a product name, revision, date, units and approval status. Old versions should remain identifiable without competing with the released file.
A reference photograph can show proportion and intent. A physical comb can show feel and finish. The drawing identifies the dimensions, locations and relationships that production should hold. Keep all three when they answer different questions, and state which version controls each feature.
Decide which dimensions affect the product
Every number does not need the same level of control. Start with the dimensions that affect grooming function, tooth movement, grip, component fit, folding action, branding clearance or packaging fit. Add any product or destination requirement that has been confirmed for the order.
Mark critical dimensions separately from reference-only information. Critical dimensions need a reviewed value, tolerance and measurement method. Reference dimensions help a reader understand the product without creating a second conflicting requirement. The drawing should also show which areas remain open for supplier feasibility review.
Define units, datums, views and measurement points
A number becomes useful only when the reader knows where it starts and ends. State the unit and identify the datum, centerline, reference edge or surface used to locate the feature. Put arrows on the actual measurement points. Add front, side, section and detail views when one outline leaves the thickness or profile unclear.
Curved handles, tail points, radii, pivots and assembled gaps often need their own view. Folding products should show the open and closed conditions used for inspection. If a part changes shape during assembly or use, name the condition in which the dimension is checked.
Control the overall envelope before the small details
Begin with the overall length, maximum width, body thickness, spine profile and main reference edges. These dimensions create the space available for the tooth zones, handle, tail, logo and package. Show local thickness changes or curves with a side or section view.
Define the endpoints directly. A tail comb can be measured to the point, to a protective radius or to another named reference. A curved comb may need a straight-line span and a separate curve definition. One unmarked overall value can produce several reasonable measurements, which makes inspection arguments almost inevitable.
Divide the working area into tooth zones
Name every tooth zone and show its start, end, usable length and transition. A mixed comb needs separate fine and wide zones. A tail or handle also consumes product length, so its location should be set beside the working tooth area.
Tooth count can help describe the layout, though it should be checked against the zone length, individual tooth widths, gaps and end margins. If all of those values are placed on one drawing, identify which dimensions control when rounding or a transition creates a small difference in the total.
Define gap, pitch and tooth width separately
The tooth spacing convention has to be written before the value. Open gap means the clear space between adjacent tooth sides. Center-to-center pitch uses defined tooth centerlines. Tooth width measures one tooth at a named location. These dimensions describe different parts of the same zone.
Tapered teeth make the reference line important. A gap near the tip may differ from a gap near the root. Mark the height or section where the value is taken. The supplier, sample reviewer and inspector can then place their measurement at the same location.
Show tooth length, roots, tips and transitions
Spacing does not define the complete tooth. Add tooth length, thickness, taper, alignment, root shape, tip profile and the transition into the body. Wide, fine and mixed zones may need different details on the same drawing.
A front view may show the gap while hiding the side rounding or edge profile. Use close views for the root, tip and side face when they matter to function or finish. The tooth and edge specification can carry the approved close photographs and physical finish reference beside the dimensional details.
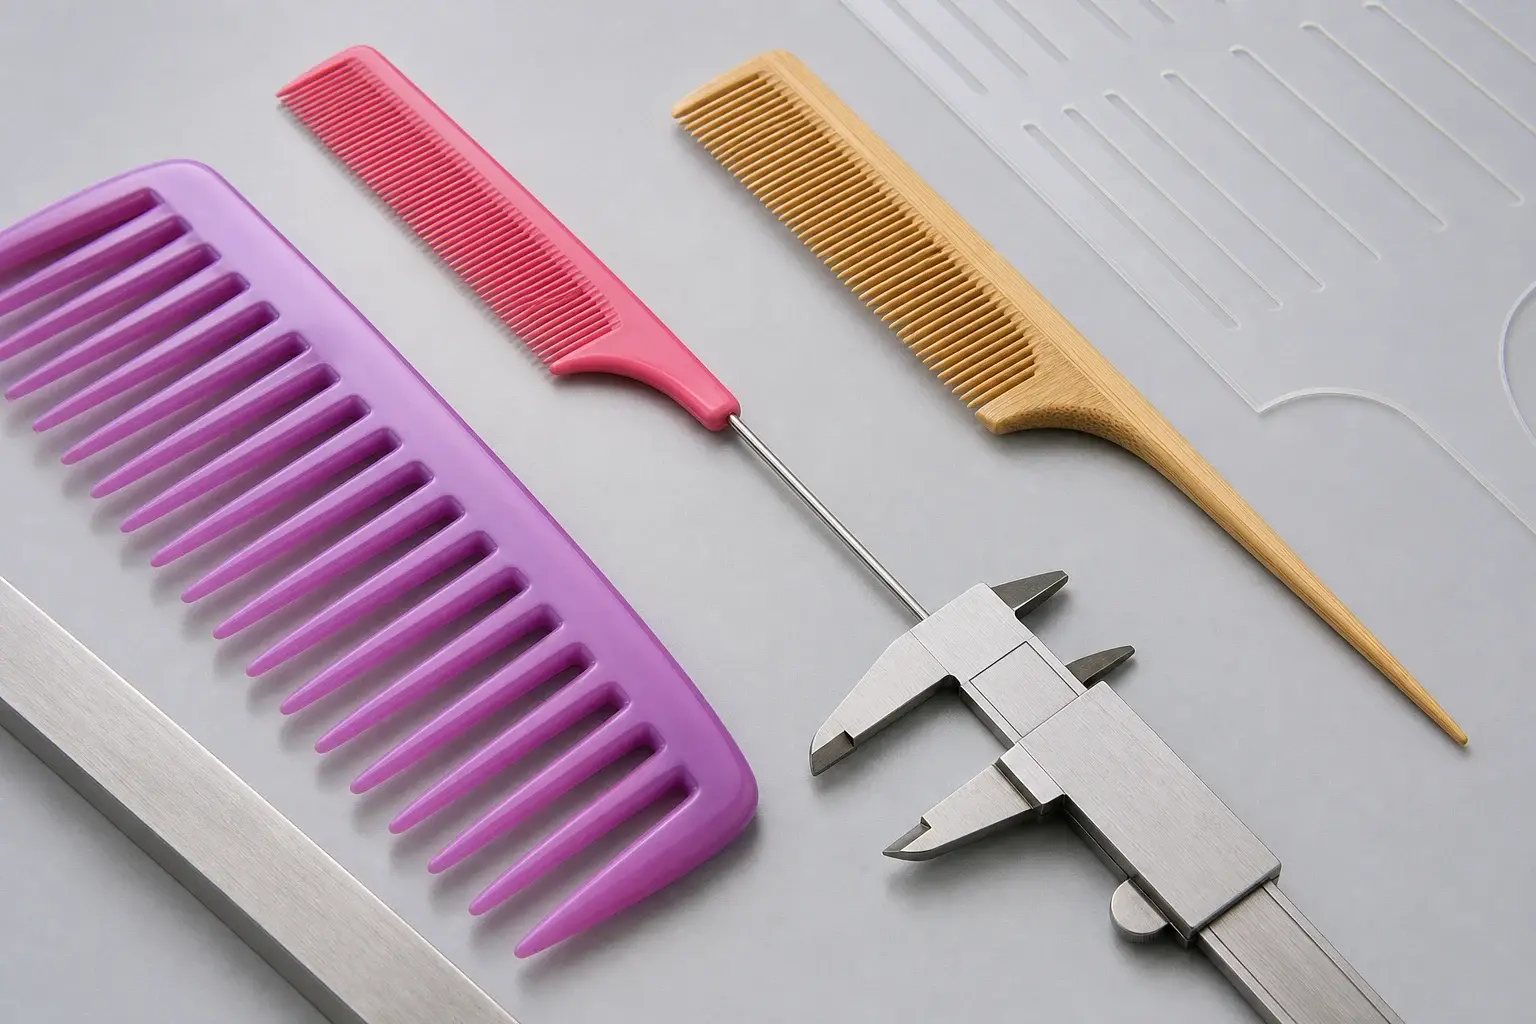
Tie every tolerance to a reason and method
A tight tolerance can add work without improving the product when the feature has little effect on use, fit or appearance. Choose tolerances after the material, process, critical function and practical measurement method have been reviewed. The number should protect a real requirement.
State how the characteristic will be checked. The order may use a confirmed measuring tool, profile comparison, fixture, visual reference, tactile review or functional check. Exact tools, conditions and acceptance limits remain project-specific. A decimal value with no repeatable method gives the drawing an appearance of precision without giving production a reliable check.
Match dimensional control to the production route
Injection-molded plastic needs review against the resin, mold geometry, molded dimensions, straightness and later operations. The approved molded sample shows how the tool and material produce the selected shape. Any change to the resin, mold or structural geometry may reopen part of the dimensional review.
Cellulose acetate begins with sheet thickness, followed by profile cutting, tooth machining, sanding and polishing. Edge finishing can alter the measured profile. Wood and bamboo follow material-specific shaping, tooth cutting, sanding and finishing. Their grain and tone belong to an appearance range, while their controlled dimensions still need clear measurement definitions.
Measure the sample against the current drawing
Confirm the drawing, material and sample identity before taking measurements. Then check the critical overall dimensions, tooth zones, gap or pitch, tooth width, length, roots, tips, straightness or designed curve and any assembly interface. Continue with the visual, tactile and functional checks named for the product.
The sample should also be placed in its proposed package or assembly when fit depends on geometry. A comb can meet its standalone dimensions and still press against an insert, catch inside a folding cover or leave too little clearance for a logo.
Resolve drawing and sample conflicts before production
A buyer may accept a sample that differs from an earlier drawing. Production then needs one clear instruction. If the accepted sample establishes a deliberate geometry change, update the drawing and approval record. If the drawing still controls, record the sample deviation and require correction.
Silence leaves two competing references. The factory may follow the written value while the buyer expects the physical piece, or the reverse. The sample approval should list every accepted deviation and identify the drawing revision that moves forward.
Build the production control plan line by line
Turn each critical feature into a separate inspection line. Name the characteristic, approved reference, value or range, method, production stage, review frequency, record and response when the result falls outside the approved condition.
| Characteristic | Reference | Method | Stage | Record and response |
|---|---|---|---|---|
| Overall envelope | Current drawing | Confirmed measurement method | Sample and agreed production stage | Measurement result and action on deviation |
| Tooth zone | Detail drawing | Defined zone, gap, pitch and length checks | In-process or final as agreed | Tooth check record and disposition |
| Tooth tips and roots | Drawing, close views and approved sample | Agreed visual, tactile or profile review | After forming, machining or finishing as applicable | Finding, photograph and required correction |
| Assembly fit | Assembly drawing and approved sample | Agreed fit and function check | Assembly and final | Function result and release decision |
| Package clearance | Pack drawing and packed sample | Fit, orientation and contact review | Packing | Pack result and correction when required |
This table shows a structure for discussion. The actual characteristics, tolerances, instruments, stages, frequencies, sampling plan and records must be confirmed for the individual order.
Record the finding and the next action
A measurement record needs more than a pass or fail mark. Identify the order, product, drawing revision, sample or batch, characteristic, method, result, location, photograph where useful and decision. If several product versions share an order, the record should show which version was checked.
State what happens next. The result may require correction, sorting, another sample, another inspection or an authorized acceptance of a recorded deviation. Name the responsible approval and keep it with the order. This history matters when the same geometry returns for a repeat order.
Keep tolerances, tools and sampling order-specific
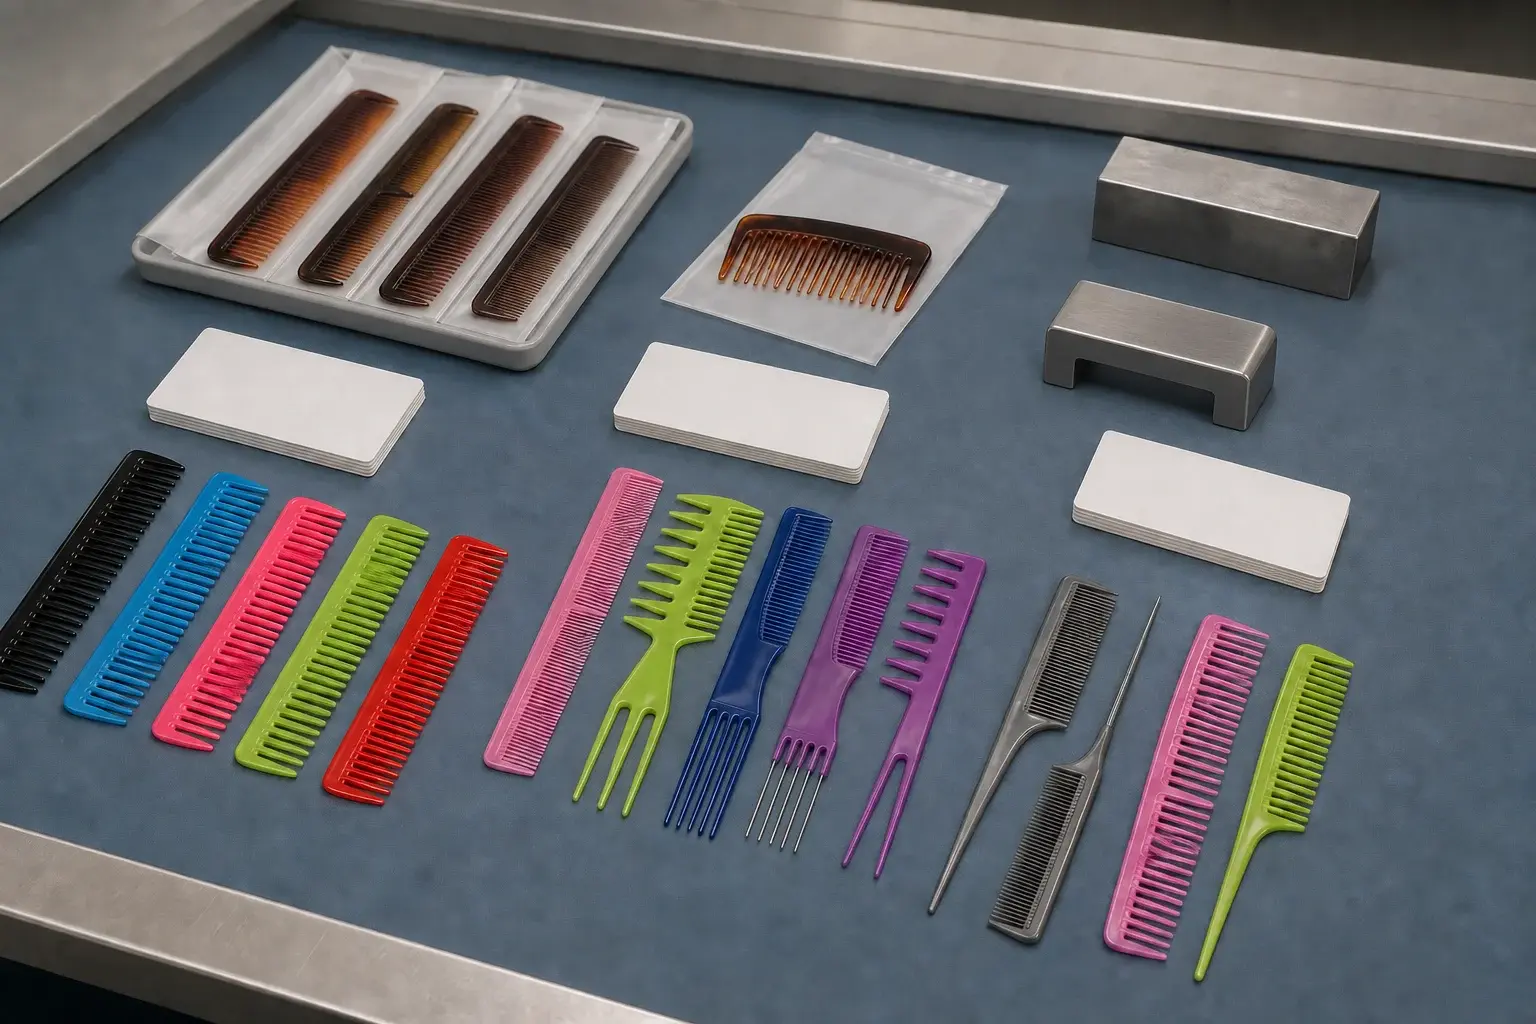
LuxoComb's confirmed checks can cover dimensions, tooth spacing, tooth length, tooth-tip smoothness, burrs, surface, color, logo, function, packaging and quantity. The applicable list depends on the product and approved specification.
Specific tolerances, measuring instruments, inspection frequency, sampling plan, AQL level and third-party inspection scope are confirmed for the order. Record these decisions before production so the supplier, buyer and inspector work from the same release criteria.
Control revisions and repeat orders
Assign revision identifiers to the drawing, material reference, approved sample, artwork and package. A change to material grade, sheet thickness, mold, tooth profile, finish, handle, assembly, logo or packaging can affect the dimensional plan or the way a feature is measured.
For a repeat custom comb order, compare the requested version with the last approved production reference. Confirm that the drawing, sample and inspection criteria still belong together. The newest file in an email folder is not automatically the approved release.
Prepare one dimension-control package
Bring the following items together before sample approval or production release.
- Current drawing with product name, revision, units, views and datums
- Critical, reference-only and open dimensions clearly marked
- Overall envelope, tooth zones and complete tooth geometry
- Reviewed tolerances and measurement methods
- Material and production-route reference
- Identified physical sample and close photographs
- Assembly, function, branding and packaging clearances
- Inspection stages, frequency, records and response rules
- Approved deviations and change history
Use the LuxoComb project process to keep the drawing, sample comments and production records connected. The custom shape and size page can help organize the product views before the measurement plan is released.