
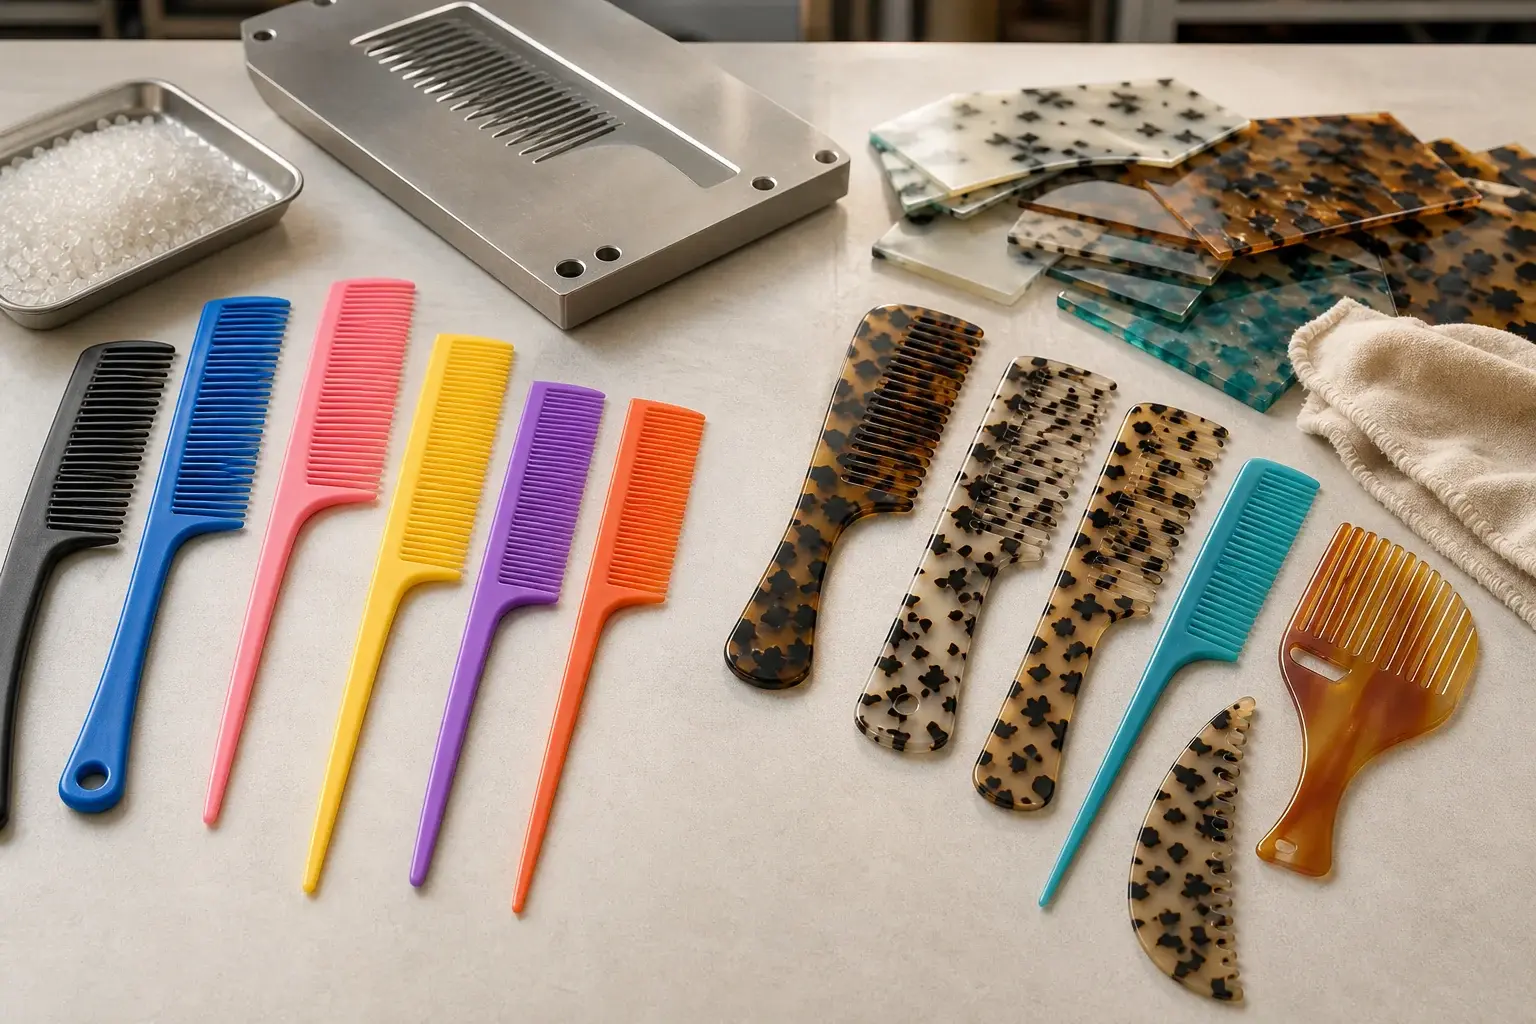
An injection-molded comb and a cut-and-polished acetate comb can share the same length, tooth spacing and logo position. They still arrive at that shape through different work. The molded part takes its geometry from a tool. The acetate part begins as a sheet whose profile and teeth are cut, shaped and polished.
That difference decides what has to be fixed early, which sample can answer a buyer's question and where a revision sends the project back. This article follows those production decisions. The broader choice between acetate and plastic appearance belongs in a separate material comparison.
Start with the production route
Confirm the route before discussing tooling, samples or inspection. A custom plastic comb can be formed from a selected resin in an existing or newly developed mold. A custom acetate comb is cut and machined from a selected cellulose acetate sheet, followed by edge and surface finishing.
The same drawing cannot be handed to both routes without review. Molded geometry has to suit the resin, tool structure and release from the mold. A sheet-cut part has to suit the available thickness, flat profile, cutting and tooth-machining route. Features that look simple in a front view may create different work once thickness, curves, openings or assembled parts are considered.
What injection molding fixes early
Injection molding places the main profile, teeth, handle, openings and molded details in the tool. The project therefore settles important geometry before the first representative molded part can be reviewed. Resin direction, dimensions, tooth layout, surface texture, molded branding and any assembly features all influence that review.
A color request belongs with the selected resin and surface. Gloss, matte texture, wall thickness and viewing conditions can change the appearance of a reference color. Color approval alone says nothing about tooth dimensions, straightness or fit with another component. Keep those decisions visible as separate lines in the approval record.
Follow the molded project from brief to sample
A reviewed molded project may move from the product brief to a controlled drawing, resin and color direction, tooling assessment, physical sample, branding, assembly and packing. Production checks then follow the references approved for that order. The exact machine, process settings, cycle and inspection frequency remain project-specific.
Each stage should leave a useful output. The brief records intended use and fixed requirements. The drawing records geometry. The material and color reference records the selected direction. The molded sample shows how those decisions work together on a physical part. Later branding and packaging approvals cover work that the unbranded sample cannot prove.
Separate existing tooling from new tooling
An existing mold can shorten the development path when its product geometry meets the fixed requirements. Compare the requested overall size, thickness, tooth zones, handle, openings, texture and assembly with the available option. Color, printed artwork and packaging can often be reviewed without changing the main product geometry.
A new or modified tool may be relevant when a structural feature cannot be made from the reviewed option. The mold decision should identify the feature that creates the change. Tooling scope, sample stages, commercial terms and reapproval conditions then belong in the quotation and project record.
Review molded geometry and finish as separate evidence
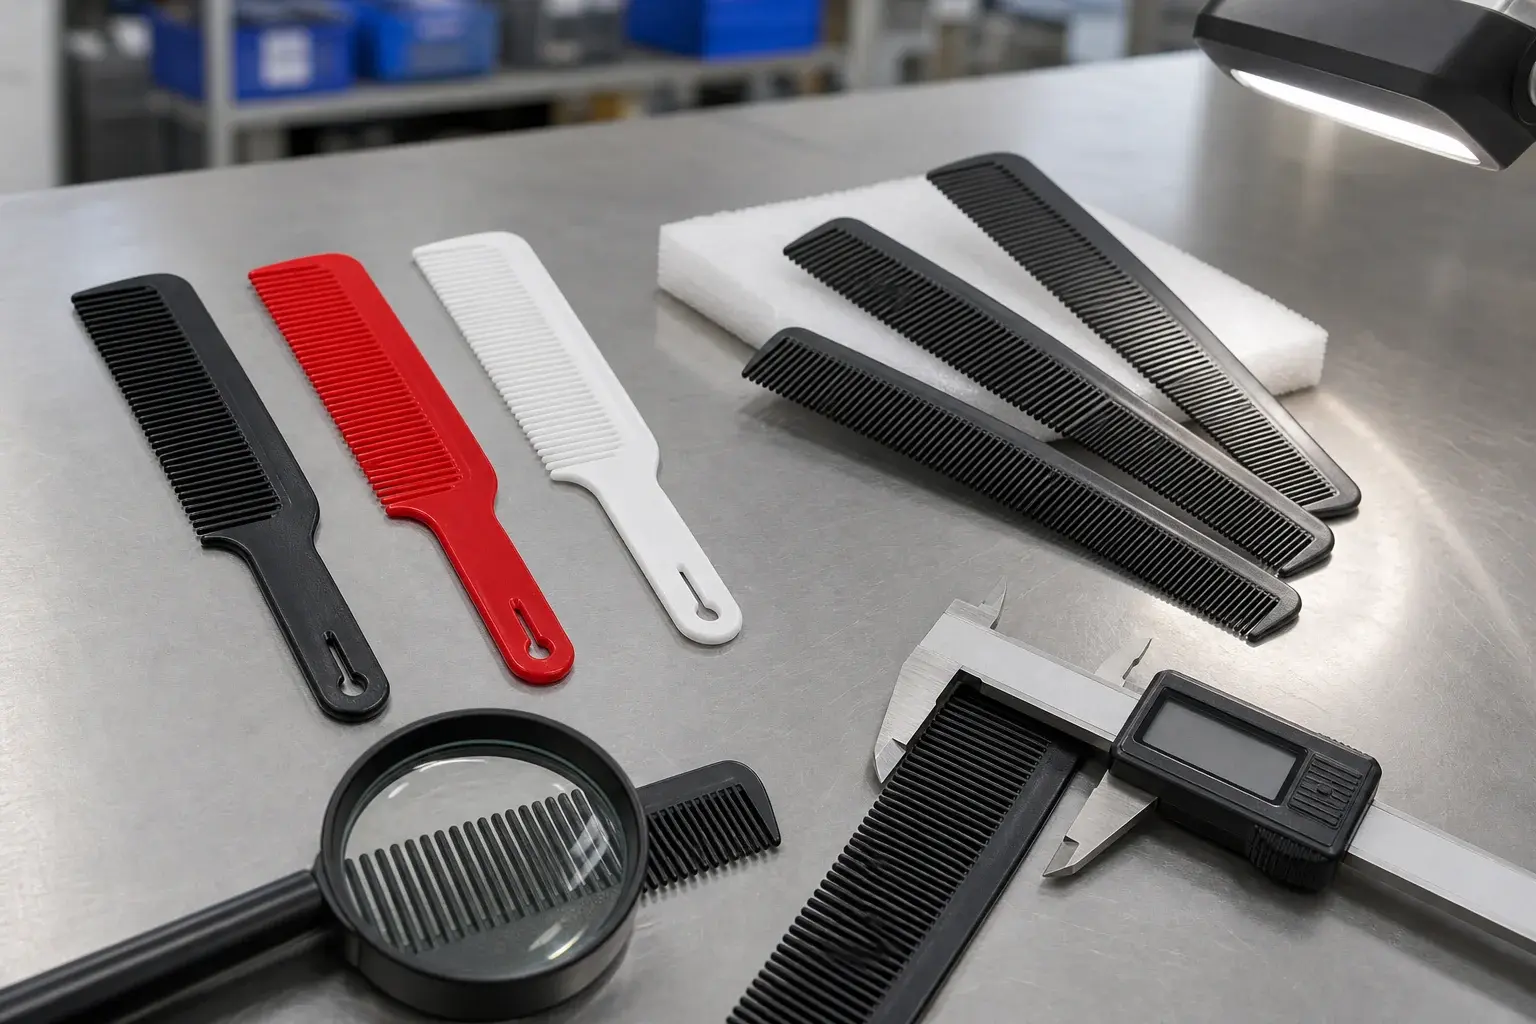
A molded sample can look clean at arm's length and still leave important questions near the teeth. Check the controlled dimensions, tooth shape, tips, roots, gaps and straightness. Review relevant parting or gate areas, burrs, warping and surface marks where they apply to the chosen design.
Geometry and finish can fail for different reasons. A wrong tooth profile may point back to the drawing or tool. A burr or local surface condition may belong to molding or later finishing. Record the affected area and compare it with the approved close view, drawing callout or physical sample. This gives the next correction a clear destination.
What cut-and-polish acetate fixes early
Acetate production begins with a physical sheet reference. Its thickness, color layers, transparency and pattern distribution already exist before the comb profile is cut. The drawing then has to describe the outline, tooth layout and the three-dimensional edge treatment that will be developed from that sheet.
The absence of an injection mold does not remove development work. Cutting files, machining setup, fixtures, samples and finishing references may still be needed. A new profile can change material yield and setup. A thickness change can affect the tooth and edge geometry. A different pattern can leave the outline unchanged while reopening appearance approval.
Follow the acetate project from sheet to polish
A cut-and-polish project can move from sheet and drawing review to profile cutting, tooth machining, shaping, sanding, polishing, branding and protective packing. The sequence used for a specific design should be confirmed with the supplier. The buyer still needs to know what condition is being reviewed at each physical stage.
A rough or partly finished piece can show the cut outline and tooth arrangement. It does not show the final edge clarity or surface polish. A polished piece carries those finish decisions, though it may still lack the approved logo and pack. Keeping the sample stage in its name prevents an early piece from becoming an accidental full-product approval.
Approve pattern range and finished edges separately
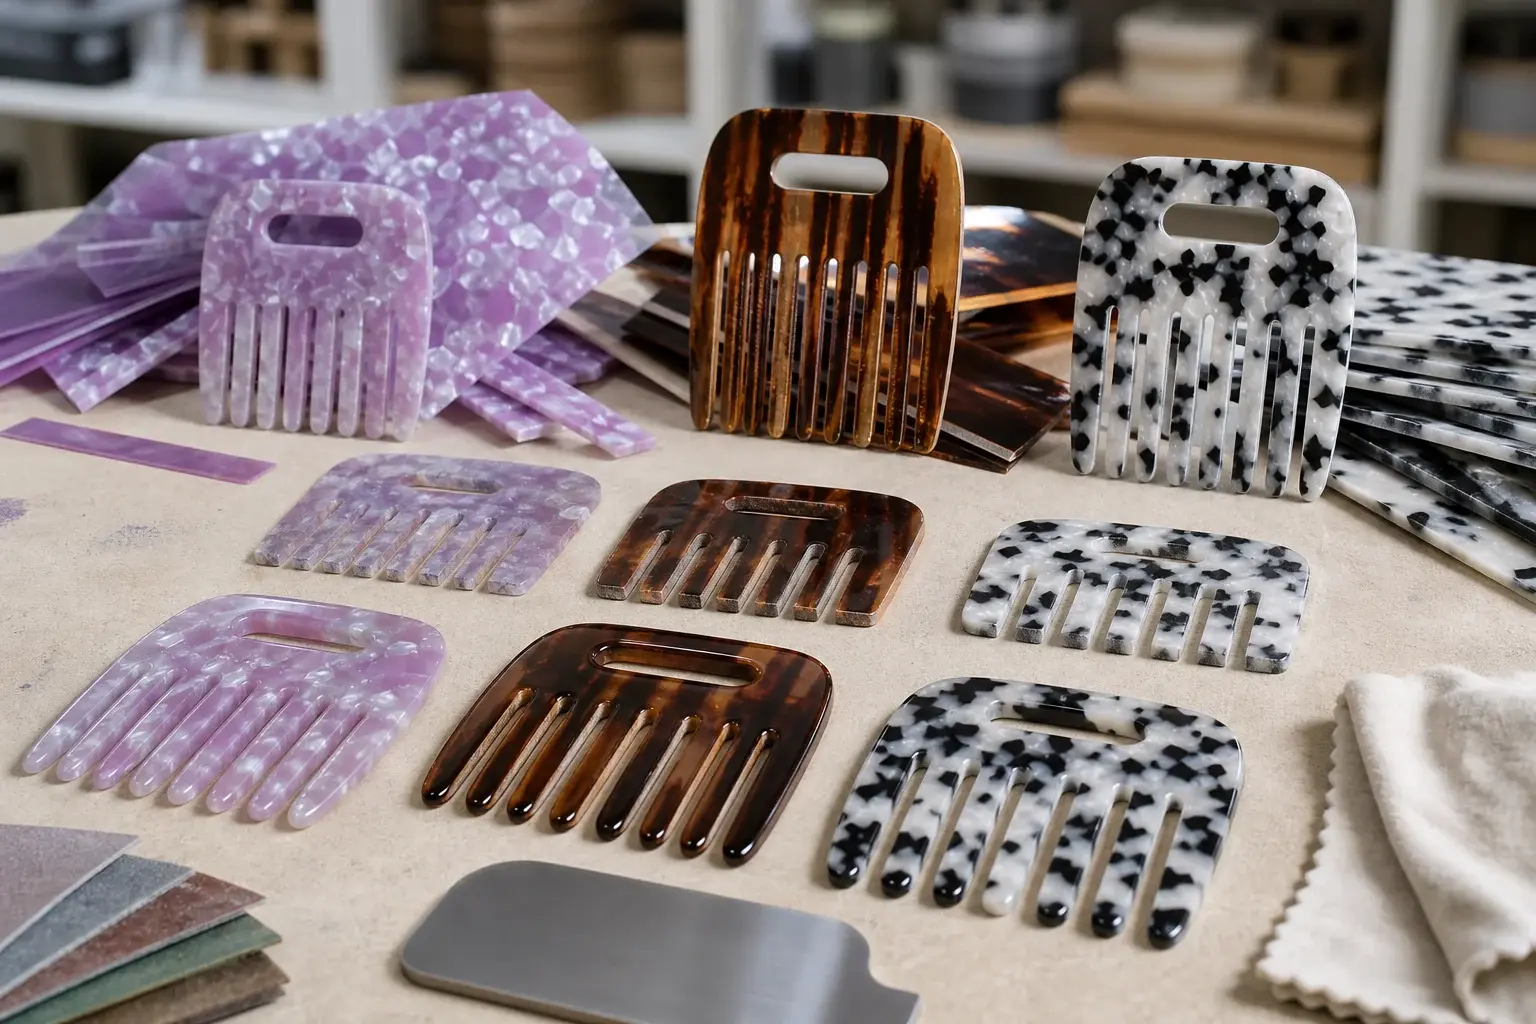
Patterned sheet will not place every light and dark area in the same position on every cut comb. Approve the physical sheet direction and an acceptable pattern range. A cropped photograph can illustrate a preference, yet it cannot describe all pieces produced from a larger patterned sheet.
Finish needs its own reference. Inspect the machined tooth spaces, roots, tips, side faces, outer edge, sanding marks and final polish. The sheet may be correct while the teeth or edges still need work. A completed tooth and edge specification connects the intended shape with the close views and checks used for approval.
Compare approval gates side by side
| Approval gate | Injection molding | Cut-and-polish acetate |
|---|---|---|
| Starting material | Resin, color direction and required records | Sheet reference, pattern range, thickness and required records |
| Geometry | Controlled drawing and existing, modified or new tool decision | Controlled drawing, profile cutting and tooth-machining route |
| First physical review | Molded sample showing dimensions, teeth, surface and function | Cut or machined sample showing profile, teeth and developing edges |
| Finished appearance | Color, texture, gloss and any later finish | Pattern distribution, sanding, polished edges and surface |
| Complete product | Branding, assembly and approved pack | Branding, polished-surface protection and approved pack |
Know what each sample proves
A useful approval names both the sample and the question it answers. A molded color reference can show a color direction on a selected material and surface. It cannot approve comb dimensions. A tooling sample can show molded geometry and surface condition. It may not include the final print, assembly or retail pack.
An acetate sheet chip can show material color, pattern and thickness. A cut blank can show the outline. A machined sample can show the teeth before final finishing. A polished and branded sample carries more of the complete product. The sample approval record should identify which decisions remain open after each review.
Trace a change back to the first affected stage
When a buyer revises the product, find the earliest approved stage affected by that change. A molded tooth or handle change may reopen the drawing and tool review. A new resin can reopen material, color, dimensions and function. A printed logo change may stay within a later artwork and branding stage when the product geometry remains fixed.
On acetate, a new sheet reference reopens the material and appearance review. A thickness or tooth change can reopen drawing, cutting, machining and finish work. A polish change may leave the outline intact while requiring another finished sample.
This approach limits unnecessary repetition and prevents a late-stage approval from covering an earlier decision it never tested. Record the revision, affected features, samples required and the reference that will control production after the change.
Build inspection around process-created risks
Both routes need dimensional, visual and functional review. The inspection points differ because the conditions appear at different stages.
| Inspection area | Injection molding | Cut-and-polish acetate |
|---|---|---|
| Material and appearance | Resin reference, color and molded surface | Sheet identity, pattern range, thickness and condition |
| Geometry | Molded dimensions, teeth, straightness and fit | Cut profile, machined teeth, thickness and edge shape |
| Local process marks | Relevant parting and gate areas, burrs and surface marks | Tool marks, sanding marks, scratches and unfinished edges |
| Approval reference | Drawing and identified molded sample | Drawing, sheet reference and identified polished sample |
| Expected variation | Approved color, surface and process range | Approved pattern placement and finish range |
The order should define the relevant method, conditions, acceptance language and review frequency. There is no single inspection plan that can be assumed for every resin, sheet, geometry and quantity.
Protect the result after production
Later work can damage a part that has already passed an earlier check. Printing, assembly, cleaning and packing may introduce rubbing, pressure or a new contact point. Inspect the complete product after those operations, with the approved branding and components in place.
Packaging should follow the finished dimensions and surface. A tight sleeve can scuff polished acetate. An insert can press against molded teeth or hide the logo. Review the actual comb inside the proposed custom package, then record the protective layers, unit count and carton configuration used for the order.
Compare quotations without process shortcuts
Quantity alone cannot tell a buyer which route will cost less or finish sooner. A new molded product can carry tooling and development work. An existing-mold version follows a different cost path. Acetate avoids an injection mold, while sheet selection, cutting, tooth machining, sanding, polishing and inspection remain part of each quotation.
Ask suppliers to separate material, development or tooling, samples, finishing, branding, packaging and production quantity. Compare the same use, dimensions, logo, pack, destination and expected repeat orders. Exact prices, minimum quantities and timing remain order-specific because the product and approval scope change the work.
Redraw before moving a design between routes
A design made for one route should receive a fresh feasibility and drawing review before moving to the other. A flat acetate outline may need changes when it becomes a molded part with tooling, parting and thickness considerations. A molded design with ribs, curves or assembled features may not translate directly into one piece cut from sheet.
Keep the use and critical product requirements fixed during the comparison. Then let each route propose suitable geometry, material, surface and approval samples. Matching only the front silhouette can hide changes in stiffness, thickness, tooth profile, edge character and assembly.
Prepare one production-route brief
A supplier can review the route more accurately when one current brief carries the decisions that affect production.
- Intended use, comb type and quantity scenarios
- Dimensioned drawing or marked physical reference
- Fixed and adjustable geometry
- Resin and color direction or acetate sheet and pattern direction
- Tooth, edge, surface and functional requirements
- Existing tooling information or new-tool review needs
- Logo artwork, method, size and position
- Packaging, destination and required timing
- Required material documents, tests and approval records
Ask the supplier to state the proposed route, the first physical sample, the questions that sample will answer and the changes that could require another approval. LuxoComb's project process keeps the brief, drawing, sample, artwork and pack revisions connected.