
“Smooth teeth” often survives a quotation, drawing, and sample email without telling anyone where to look. A glossy spine, rounded tips, clean roots, and an edge that does not catch are separate approval points. If they stay bundled under one adjective, a sample can look polished from a distance and still feel unfinished where hair or fingers meet the comb.
A workable specification begins with named contact areas. It then connects each area to an intended shape, a finish reference, and a check that suits the material and production route. This gives the buyer, sample maker, production team, and inspector the same map.
The purpose is practical. The team should be able to place a sample beside the drawing and explain which areas pass, which areas need correction, and which change triggered another review. Claims about comfort or performance still depend on the final design and intended use.
Map every contact area before discussing smoothness
Begin by tracing the product through handling, use, storage, and packing. Hair may pass over the tip, along both sides of a tooth, and into the root of a gap. Fingers may meet the spine, handle, tail, hanging hole, or folding cover. A pouch or paper insert may rub against a polished edge during shipment.
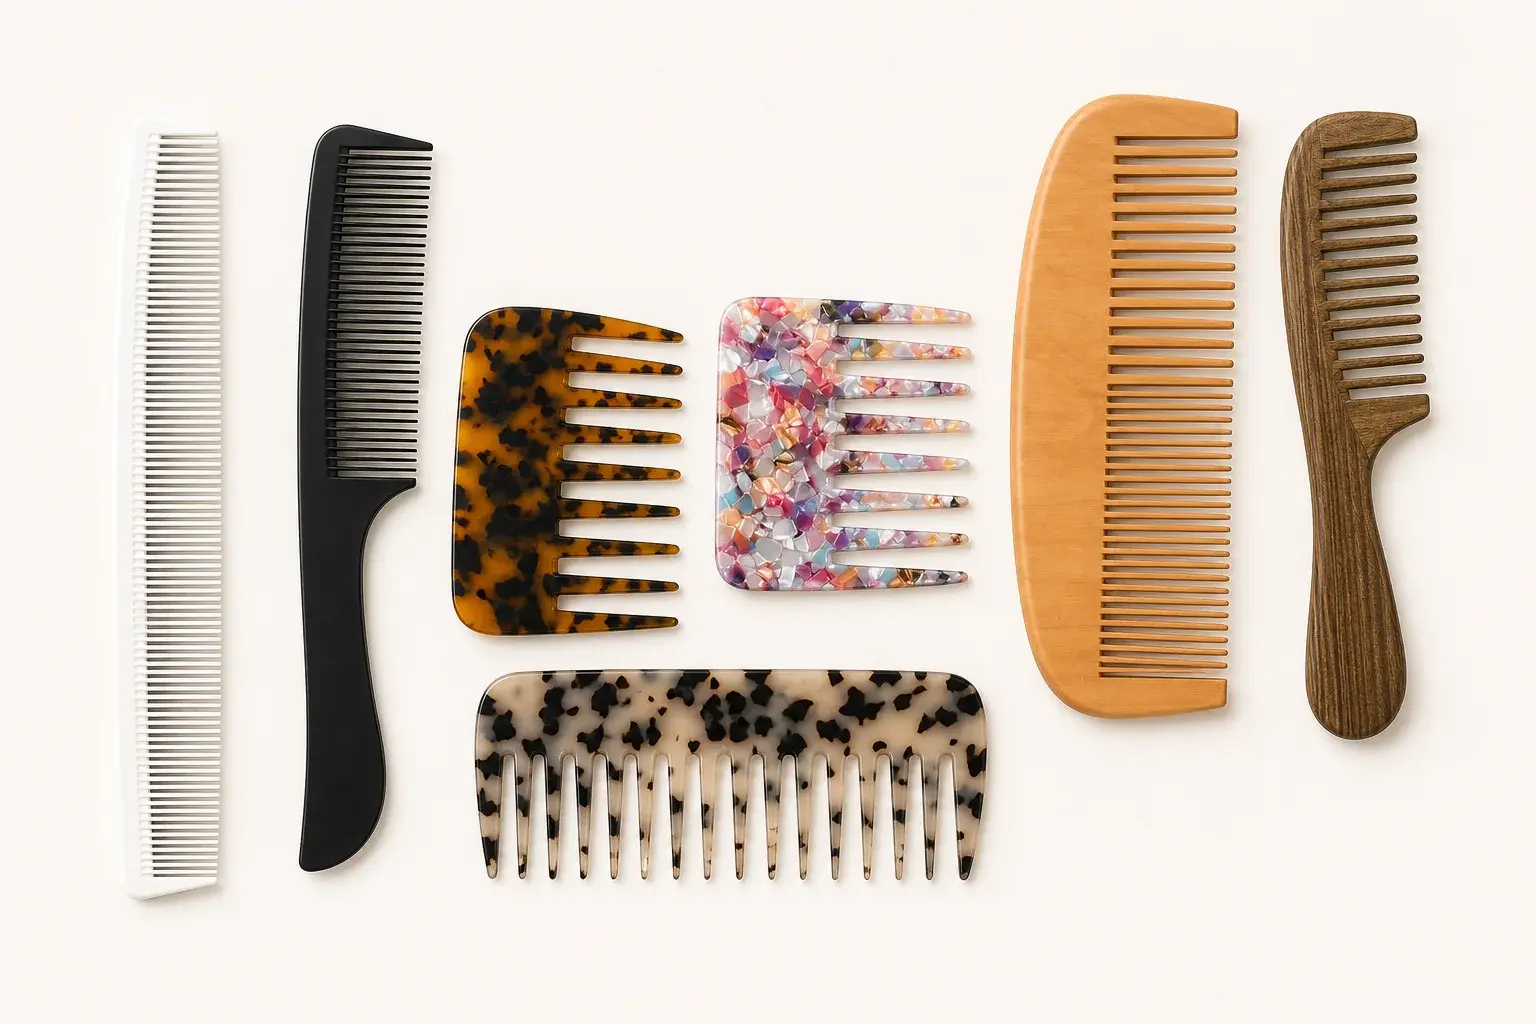
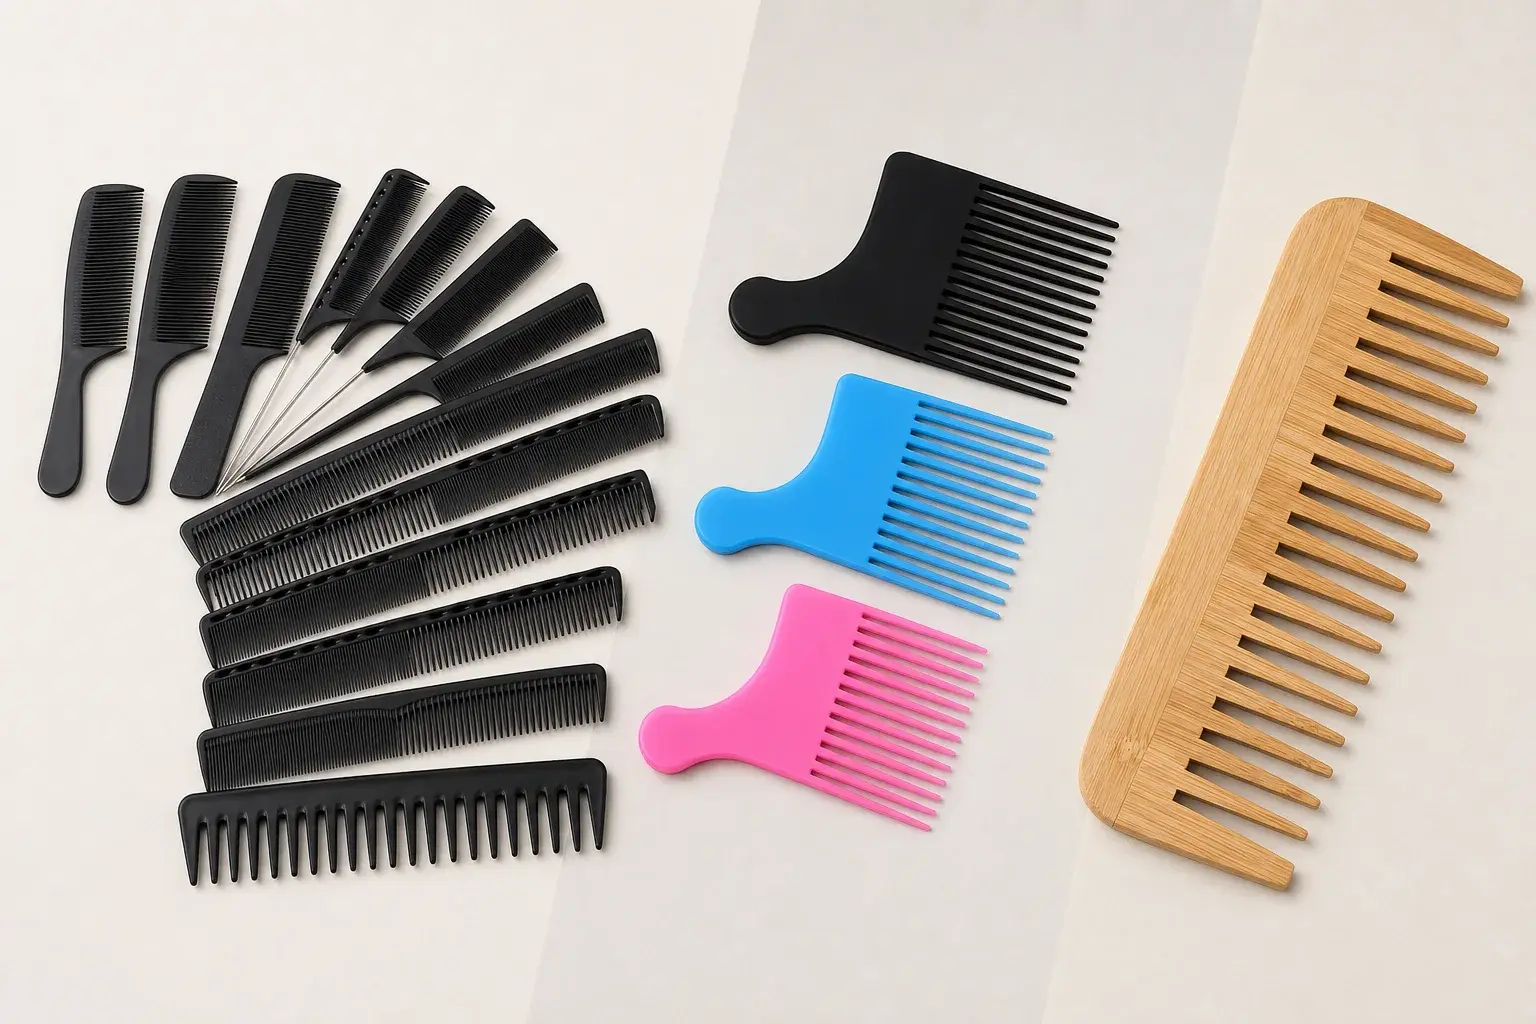
The product type changes the map. A wide-tooth comb places more visual attention on individual tips and open gaps. A fine-tooth comb has narrow roots that require close review. Folding products add the pivot, cover, and closing path. Tail combs add the full tail profile and its connection to the body.
Mark these locations on a drawing or annotated sample. General notes such as “all edges smooth” leave room for different interpretations. A numbered callout makes feedback shorter and easier to carry into inspection.
Separate geometry from finish
Geometry describes what shape the part should have. Finish describes the condition of that shape after forming, cutting, sanding, polishing, coating, or assembly. A rounded tip can still carry a burr. A polished surface can still have a corner that is sharper than the approved profile.
Review both layers. Confirm the tooth length, width, taper, tip profile, root shape, gap, body transition, and any special edge treatment. Then review machining marks, molding remnants, chips, splinters, uneven sanding, coating buildup, and other visible or tactile conditions relevant to the material.
This separation also helps diagnose a rejected sample. Geometry corrections may require drawing, tooling, or machining changes. Finish corrections may belong to later surface work. Mixing the two can send the team toward the wrong process step.
Define the tooth-tip profile in close view
Straight, rounded, tapered, and dual-sided profiles are useful starting descriptions. Each one still needs a close view. Show the tip from the front and side whenever the rounding direction is hard to understand from the main outline.
A drawing detail can identify the controlled dimensions or profile. A marked close photograph can show the approved visual result. A physical sample carries the feel and the relationship between the tip, tooth sides, and surface finish. These references work together.
If the project needs a numerical radius or another objective profile, define the value and the measurement method for that order. Material thickness, tooth proportions, and the manufacturing route all affect what can be made and checked consistently. A distant catalogue image cannot carry that information.
Inspect roots, side edges, and transitions
Tooth tips receive most of the attention in product photographs. The spaces between them often decide whether an edge specification is complete. Hair enters the gaps and can meet the tooth sides and roots. Fine spacing makes residual material, rough corners, and uneven finishing harder to see.
Look through each tooth zone under suitable lighting. Check whether gaps are open and consistent with the approved geometry. Review the roots, both tooth faces, and the transition into the spine. If the design moves from wide teeth to fine teeth, inspect the changeover area as its own location.
Finishing should preserve the approved shape. Heavy edge work can change a tip, open a gap unevenly, or soften a line that the design intended to keep. Close viewing or magnification may help when the project has agreed on the method.
Match the edge check to the material route
The same word can describe products made through very different operations. The inspection plan should follow the real route used for the selected comb.
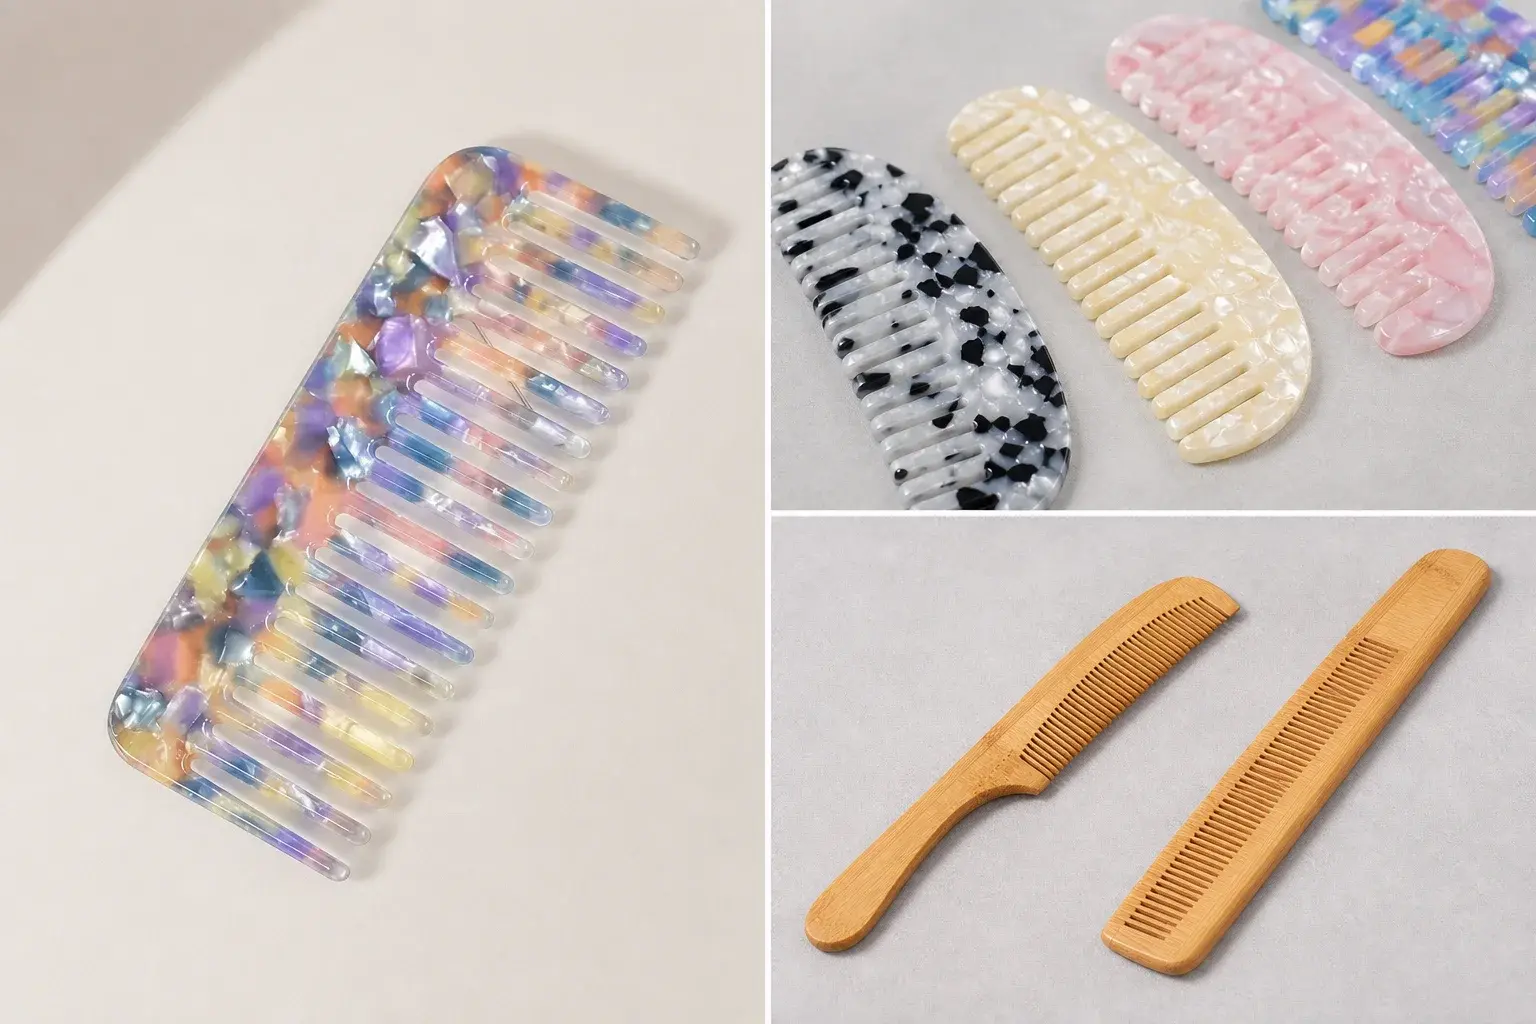
Cellulose acetate combs begin with sheet material. The teeth are machined and shaped, followed by edge and surface sanding and polishing. Review the tooth roots, tool marks, side edges, tips, transitions, and the final polish shown by the approved sample.
Injection-molded plastic combs receive their main geometry from the mold. The review may include tooth shape, straightness, relevant parting or gate areas, burrs, surface condition, and any later finishing operation.
Wood and bamboo combs are shaped, cut, sanded, and finished. Their checks may cover chips, cracks, splinters, grain-related variation, tooth roots, tips, edges, and the approved appearance after oil or coating. The accepted range should come from the actual material and sample program.
Build an approval reference a supplier can repeat
The word smooth gives the product direction. Production still needs evidence. Assemble a small approval set that identifies the intended result and gives inspectors something concrete to compare.
- Use a drawing detail for the controlled tooth and edge geometry.
- Add marked close photographs of tips, roots, side edges, and special transitions.
- Keep the signed or otherwise identified physical sample as the finish and feel reference.
- Name the visual, tactile, and functional checks used for approval.
- Record the accepted limits for relevant burrs, tool marks, chips, cracks, splinters, or coating buildup.
- Link every reference to the current material, drawing, and sample version.
When an objective measurement is required, the order should state the tool, method, condition, and acceptance rule. There is no useful universal smoothness number for every comb material, profile, and finish.
Use visual, tactile, and functional checks carefully
Each check answers a different question. Visual review finds shape changes, blocked gaps, burrs, chips, cracks, finish inconsistency, and damage. A tactile check can reveal an edge or transition that catches even when it is difficult to see. A functional check shows how the approved sample behaves in the agreed use situation.
The project should define how these checks are performed. The chosen method must suit the product and be safe for the people carrying it out. Lighting, viewing distance, magnification, handling direction, test sample, and acceptance language can all change the result, so any critical condition belongs in the inspection instruction.
A single pass across the outer spine does not represent the tooth roots or narrow gaps. Follow the contact map and record results by area.
Approve the sample without erasing the drawing
A physical sample communicates details that are difficult to capture in words. It shows how the tip, root, material, color, gloss, and overall finish work together. The sample approval record should include close photographs and written comments for every corrected contact area.
The drawing remains necessary. A sample can be worn, misplaced, or viewed differently under changing light. It also cannot explain which dimensions are controlled or which visual variation is accepted. Keep the drawing version, sample identity, photographs, and written criteria together.
Approval should state whether the sample is ready for production, approved with recorded corrections, or waiting for another sample. Ambiguous comments such as “make it smoother” restart the interpretation problem.
Carry edge controls into production inspection
The approved result has to survive beyond the sample table. Add relevant edge and tooth checks to in-process review and final inspection. LuxoComb project checks can cover dimensions, spacing, tooth length, tooth-tip smoothness, burrs, surface, color, logo, function, packaging, and quantity. The exact method and sampling plan are confirmed for the order.
Check the process stages where a condition can first appear and where it can still be corrected. Forming or tooth processing may establish the geometry. Sanding, polishing, coating, branding, or assembly may alter an edge later. Final inspection then compares the batch with the approved references.
The following map keeps review points distinct.
| Area | Approval reference | Typical review |
|---|---|---|
| Tooth tips | Drawing detail and close sample view | Profile, damage, burrs, and approved finish |
| Tooth sides | Marked sample and written finish criteria | Edge condition, tool marks, and consistency |
| Roots and gaps | Close photograph and zone drawing | Open gaps, residual material, corners, and transitions |
| Spine, handle, and ends | Outline drawing and physical sample | Profile, surface, handling edges, and damage |
| Tail, pivot, holes, and cutouts | Feature detail and approved assembly | Local edges, movement, fit, and exposed contact points |
Check branding, assembly, and packaging contact
A good tooth finish can be damaged after polishing. A logo recess may introduce a local edge. A pivot or insert can create a new contact point. Parts may rub during assembly, cleaning, packing, or transport.
Inspect the finished product in its complete configuration. Open and close folding products through the agreed function check. Review mirrors, inserts, tails, hanging holes, cutouts, and logo areas that fingers or packaging can reach. Confirm that cleaning or surface work has left the approved finish intact.
Packaging should protect polished teeth and edges throughout storage and shipment. The product should sit securely, and critical surfaces should avoid harmful contact with closures, staples, ties, trays, or neighboring units. Run the packaging review with the approved comb inside.
Prepare one edge-finish brief for review
A buyer can bring the work into one page before sampling. Include the product drawing, material, tooth profile, marked contact areas, finish target, close reference images, physical sample identity, inspection method, accepted defect language, and reapproval triggers.
Reapproval deserves its own line. A change in material, supplier source, mold, machining route, tooth program, sanding, polishing, coating, logo process, assembly, or packaging may affect an approved contact area. The team can then review the affected points before the revised product reaches a full batch.
Use the project process to keep the brief, sample comments, and approved version connected. Geometry decisions can also be recorded through the custom shapes and sizes work.