
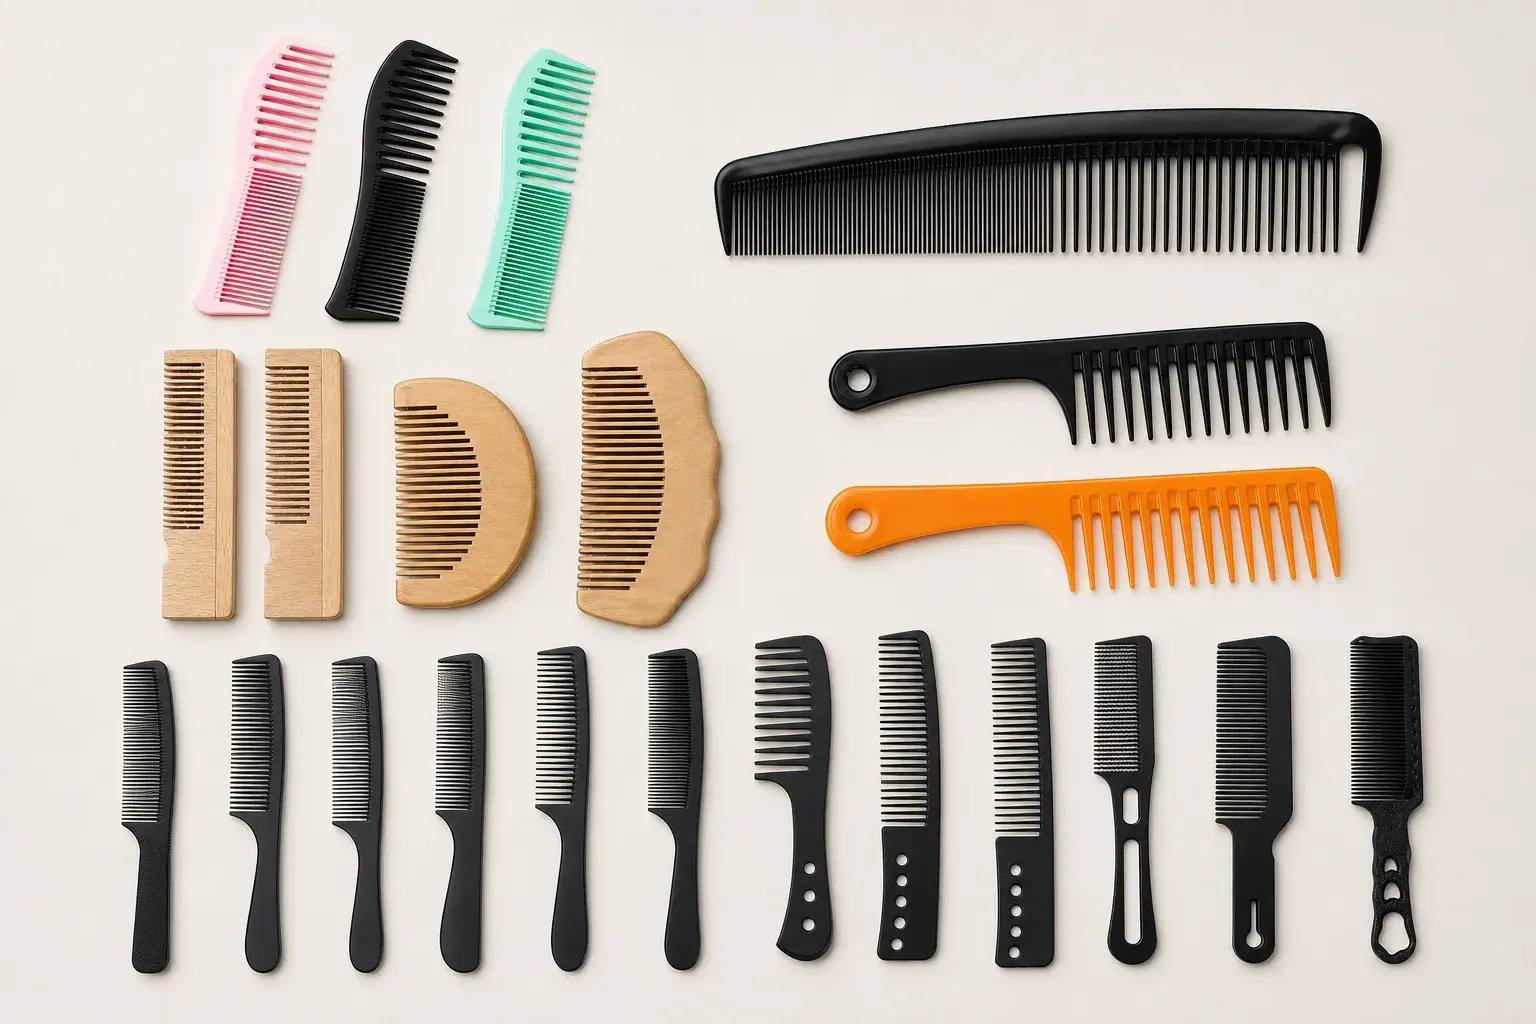
A drawing can label one side “fine tooth” and the other side “wide tooth” and still leave the supplier guessing. Those words describe a layout. They do not show the open gap, tooth width, center-to-center pitch, zone length, or point where any measurement is taken.
That missing definition follows the project into sampling. If one person measures near the tooth tips and another measures closer to the roots, both can report a number called tooth spacing while checking different geometry.
LuxoComb can review tooth spacing with the comb use, drawing, material, production route, and approved sample. Exact dimensions, tolerances, measurement tools, and sampling rules remain project-specific.
Start with the work the comb must do
Describe the grooming action before setting the tooth zone. Record whether the comb is meant for close grooming, section control, cutting support, broader separation, detangling, beard care, pocket use, styling, or another defined task.
Add the use conditions that affect the design. Dry or wet hair where relevant, working direction, grip, usable tooth length, required movement, body curve, handle, and package all belong in the brief. A tooth zone occupies real space, so every added feature changes how much working length remains.
Fine teeth may suit closer control or finishing. Wide teeth may suit broader separation. A mixed layout can place two working zones on one comb. These are starting directions. The drawing and sample still decide whether the complete product fits the intended use.
Define the spacing convention before the value
Write what the spacing dimension means. Put arrows and a reference line on the drawing so the supplier, sample reviewer, and inspector use the same two points.
| Drawing item | What it describes | What the drawing should mark |
|---|---|---|
| Open gap | Clear space between adjacent tooth sides | The two sides and the reference line used |
| Center-to-center pitch | Distance between defined centerlines of adjacent teeth | The tooth centerlines and measurement location |
| Tooth width | Width of one tooth at a named location | The sides and reference line used |
| Zone length | Working length allocated to one tooth layout | The start, end, and transition points |
Tapered teeth can have different widths and gaps near the roots and tips. Curved or angled layouts can also make a single view unclear. Add a detail view or section where needed, and state which view controls the dimension.
Dimension the complete tooth zone
Spacing works together with the rest of the geometry. Define each zone with enough information to recreate and inspect the intended shape.
- Zone name, purpose, start, end, and usable length
- Tooth count where it helps control the layout
- Open gap, pitch, tooth width, or other stated convention
- Tooth length and any change across the zone
- Root shape, root radius, and transition into the body
- Tip profile, tip radius reference, and edge treatment
- Straight, tapered, curved, offset, or other approved profile
- End margins, handle clearance, and transition between zones
Check the dimension chain before approval. If tooth count, individual widths, individual gaps, zone length, and end margins are all fixed, the drawing should state which values control when transitions or rounding create a difference.
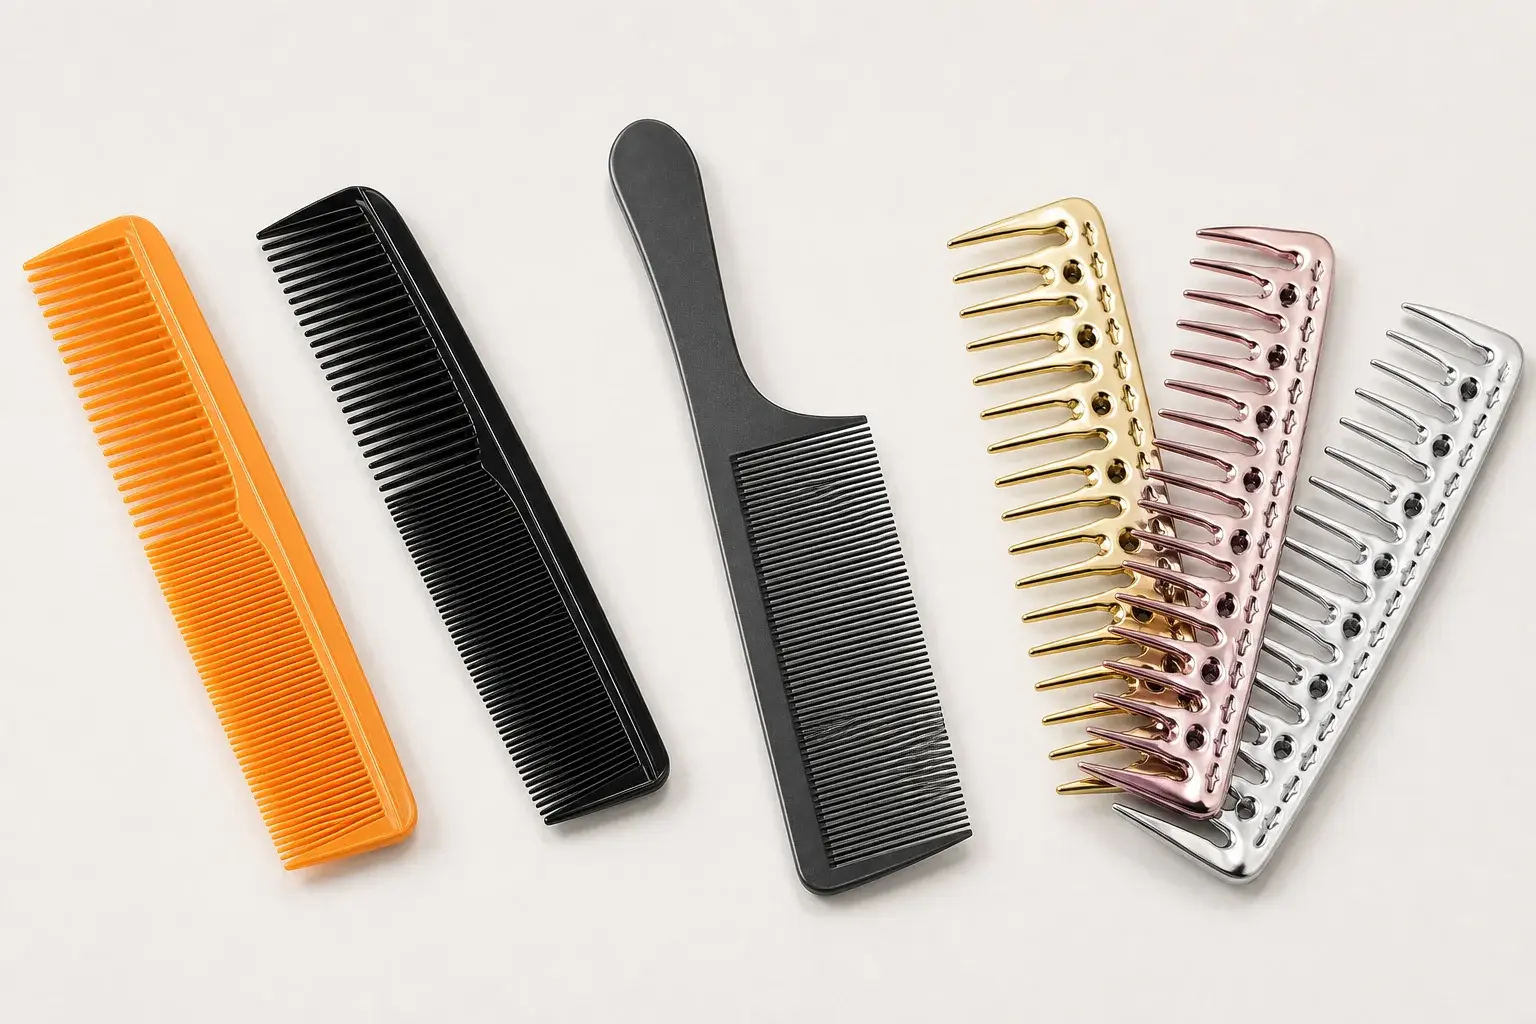
Review fine-tooth zones as a complete structure
A fine-tooth zone needs more information than a high tooth count. Compare the gap convention with tooth width, length, root support, tip profile, zone straightness, and the material selected for the product.
Long slender teeth and shorter supported teeth create different structures even when a spacing label looks similar. Mark the intended movement or rigidity, then review the finished sample under the agreed use action.
Inspect the full fine-tooth zone. Look for blocked gaps, burrs, chips, rough roots, damaged teeth, sharp edges, inconsistent alignment, and any finish that changes the approved opening.
Review wide-tooth zones beyond the gap
For a wide-tooth design, define tooth thickness, length, taper, root, tip, body curve, handle, material response, and intended dry or wet use where it belongs to the project.
For a detangling brief, spacing alone does not establish the intended result. Grip, curve, contact path, movement, tooth smoothness, and use conditions also need sample review.
Measure a tapered wide-tooth layout at the stated reference line. The open space may change along the tooth length, so a number without a location can give the drawing and inspection team different answers.
Build mixed-tooth layouts around two real tasks
A mixed layout uses product length for two tooth zones. Name the primary task, secondary task, working length needed for each, and the point where one zone becomes the other.
Define the transition tooth or transition space directly. Record whether the zones sit on one side, opposite sides, or another approved orientation. Add body thickness, edge treatment, grip, and end profile to the same drawing.
Place branding after the working zones are allocated. A logo, handle, opening, or decorative end should not shorten either zone beyond the approved use requirement or make orientation unclear.
Match tooth geometry to the material and process
Each production route reaches the finished teeth differently. For an injection-molded plastic comb, review the resin, mold geometry, molding result, straightness, and any later finishing. The molded sample shows how the proposed tooth form appears in the finished part.
For a cellulose acetate comb, review sheet thickness, cutting, tooth machining, sanding, and polishing. For wood or bamboo, review the selected material, shaping, tooth cutting, sanding, finish, and the appearance limits agreed for the project.
A spacing layout approved in one material still needs review when it moves to another. Recheck tooth width, root, tip, spacing, finish, body thickness, and feasible tolerances with the selected material and process.
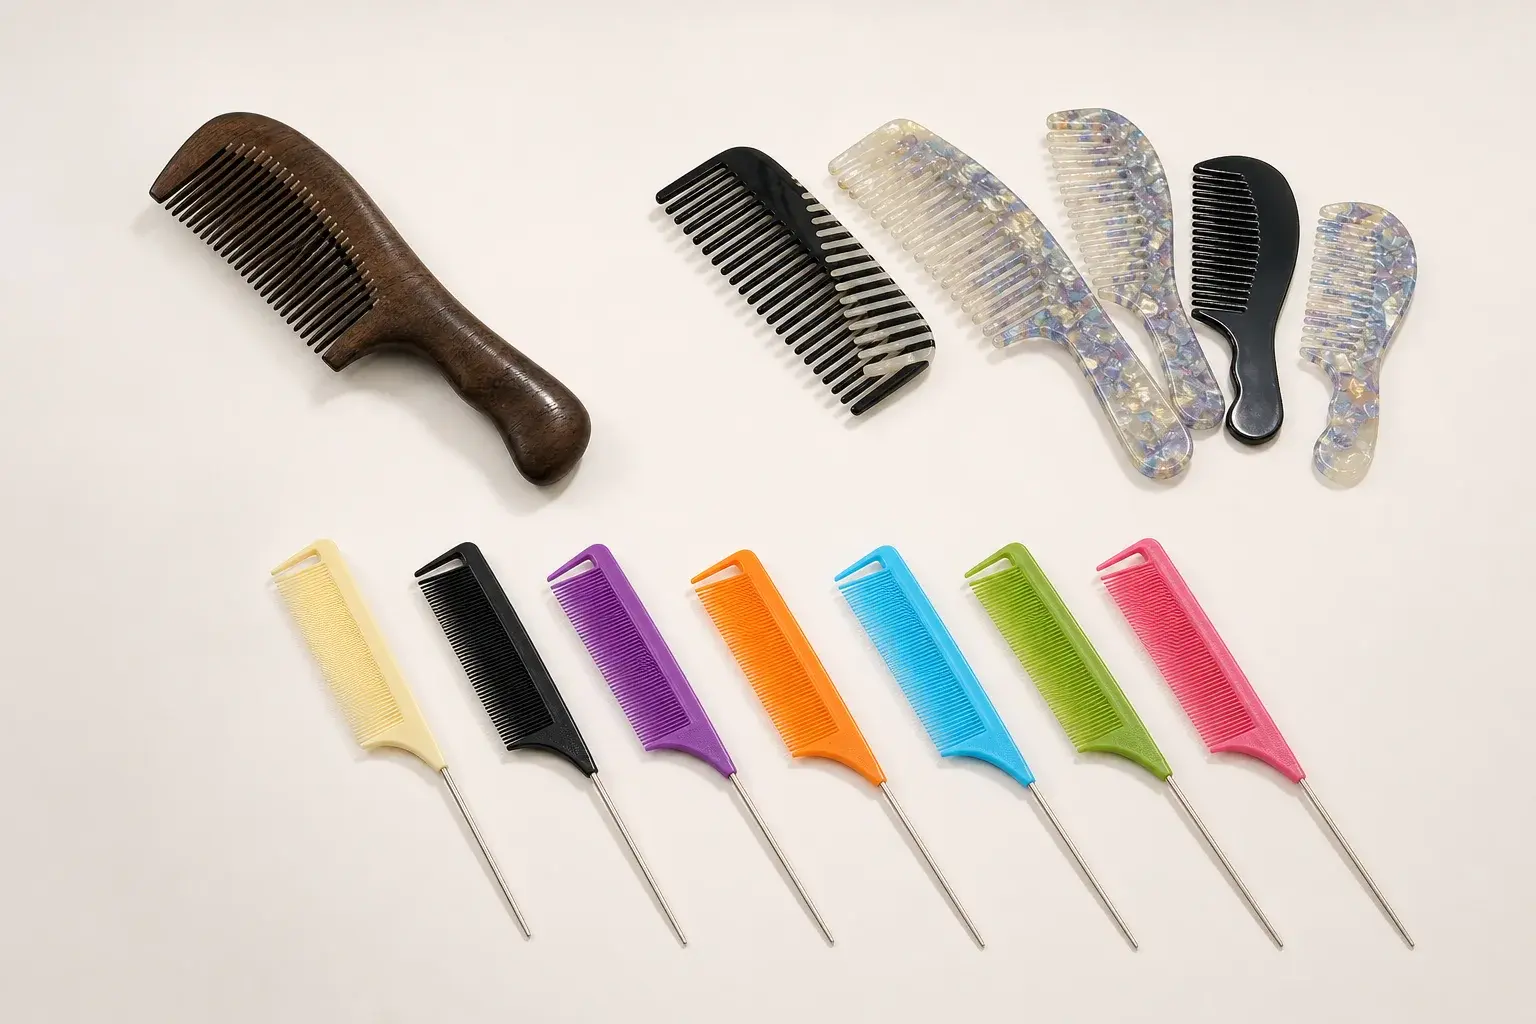
Use the physical sample to complete the specification
Review the sample with the current drawing beside it. Confirm the material and version first, then measure the defined spacing, tooth width, length, zone location, body dimensions, straightness or designed curve, and transition.
Continue with the surfaces that a dimension cannot fully describe. Inspect tips, roots, burrs, edges, and smoothness. Perform the agreed grip, movement, assembly, folding, or grooming action where applicable.
If the sample is accepted with a geometry that differs from the drawing, update the written reference. Production should not have to choose between an old dimension and a newer physical sample.
Build a repeatable tooth inspection plan
Turn each critical drawing item into an inspection line. A useful line names the characteristic, reference, value or approved range, tolerance, method, production stage, sampling rule, record, and action after an unacceptable result.
- Confirm the drawing, material, color, and sample revision
- Check zone length, location, tooth count, and transition
- Measure the defined gap or pitch at the named reference line
- Check tooth width, length, profile, and alignment
- Inspect roots, tips, burrs, chips, blocked spaces, and edges
- Review straightness, curve, rigidity, or movement where required
- Confirm handle, assembly, branding, and package clearances
- Record findings, photographs, decision, and required action
LuxoComb's confirmed checks can cover dimensions, tooth spacing, tooth length, tooth-tip smoothness, burrs, surface, color, logo, function, packaging, and quantity. Exact tolerances, tools, inspection frequency, sampling plan, and third-party arrangements are confirmed for the individual order.
Control revisions, repeat orders, and packaging
Assign a revision to the tooth drawing, material reference, approved sample, artwork, and package. A later change to the material grade, mold, sheet thickness, tooth profile, finish, handle, logo, or pack can affect the geometry or inspection method.
For a repeat order, compare the requested version with the last approved production reference. Confirm any new tooth-zone drawing before production starts, and keep the approval with the order.
Check package fit after tooth geometry is approved. A sleeve, case, folding cover, insert, or box should protect the teeth and follow the approved product orientation without pressing or exposing the working zone.
Prepare one tooth-zone brief for review
- Name the comb type, grooming task, user, and use condition
- Attach the overall drawing and identify every tooth zone
- Define open gap, pitch, tooth width, and the measurement reference line
- Add tooth length, root, tip, profile, zone location, and transition
- State the material, production route, movement, and finish
- Mark handle, branding, assembly, and packaging clearances
- List the sample checks and any project-specific test
- Confirm tolerances, methods, records, and change approval
Use the custom shape and size process, then compare wide-tooth, fine-tooth, and tail comb formats before finalizing the drawing.