
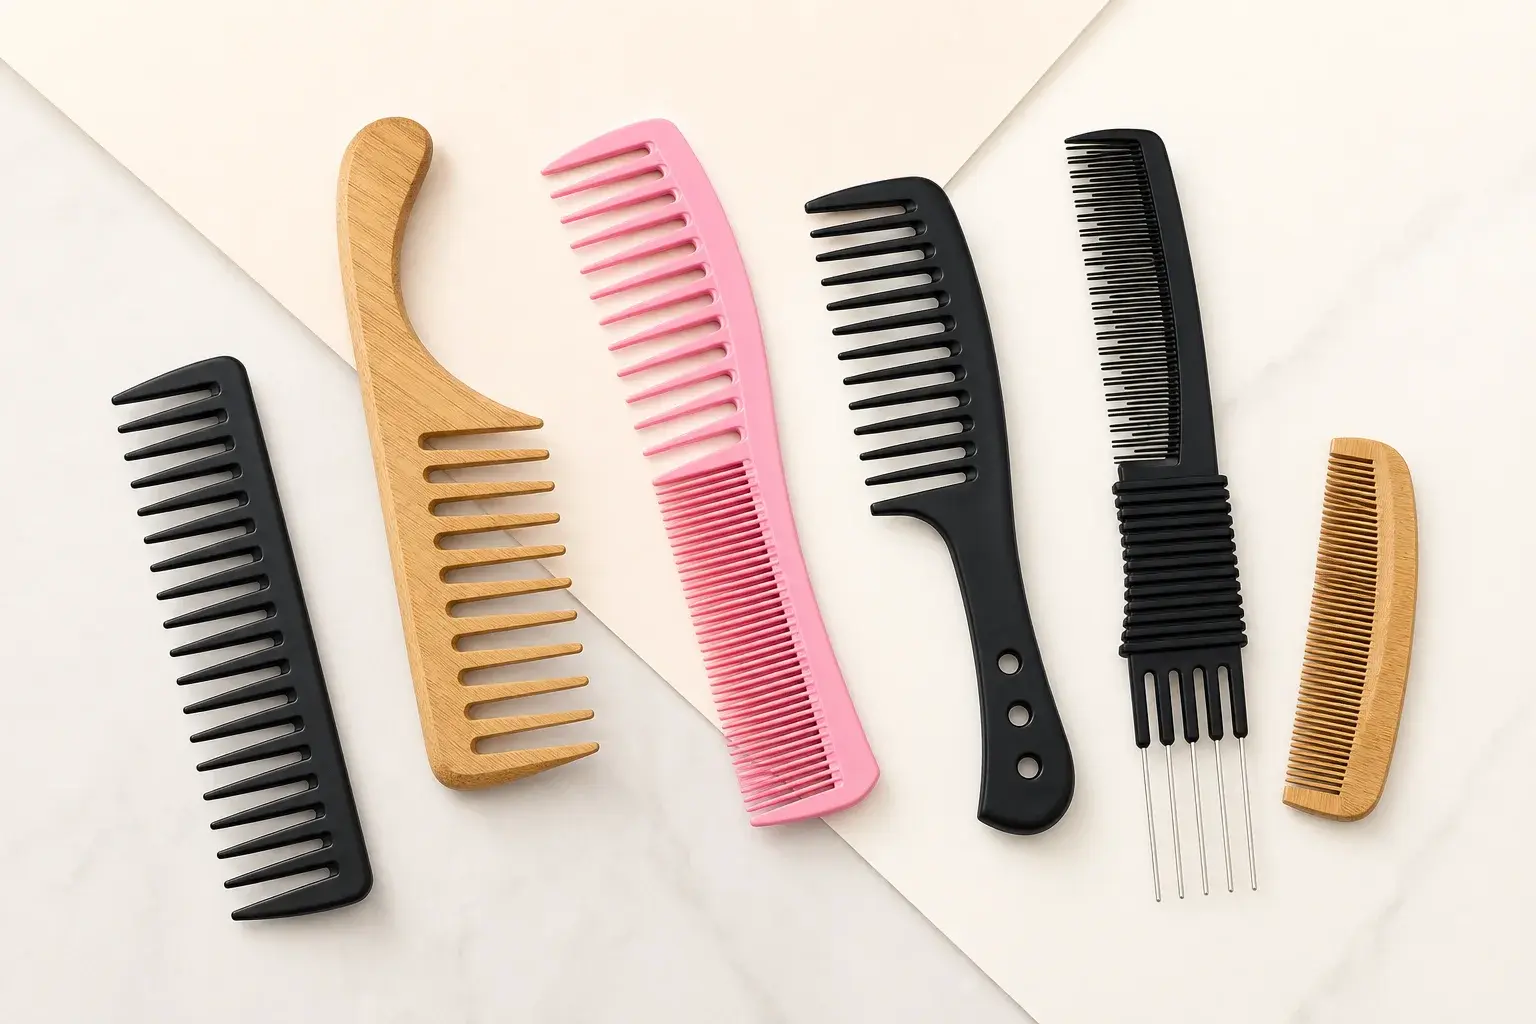
A mixed-tooth comb often looks like the safest choice on a concept sheet. It appears to offer two functions while a fine-only or wide-only comb offers one. The catch becomes visible when the zones are placed on a real body. Every extra zone uses working length, needs a clear transition, and competes with the grip, logo, end profile, and package.
The layout decision begins with the work the comb must do. Fine teeth can support closer control or finishing. Wide teeth can support broader separation. A mixed layout gives the same user two distinct working zones. These are useful selection terms. The drawing still has to define the finished geometry.
This guide stays with the selection problem. Once the layout is chosen, the tooth spacing guide carries the open gap, pitch, tooth width, length, root, tip, transition, and inspection details into the drawing.
Name the primary grooming task first
Write one sentence that describes the main action. The brief may call for close grooming, finishing, section control, cutting support, broader separation, beard care, curl-oriented use, or another defined task. Add the user, working direction, hand position, and relevant dry or wet condition.
A vague list of possible uses makes the tooth decision harder. If one task carries most of the product value, give it the full working zone. A second zone earns its place when the same user will switch to a second task during the same routine or while carrying the same comb.
The words fine, wide, and mixed do not tell a supplier how close, open, long, thick, tapered, or smooth the teeth should be. They identify which layout deserves development. Keep that boundary clear during early concept review.
Choose a fine-only layout for uninterrupted close control
A fine-only layout uses most or all of the available tooth length for one close-control task. It can suit fine-tooth, cutting, tail, pocket, beard, and other comb formats when that task leads the brief.
The tooth count alone says little. Review the usable zone length, tooth profile, straightness, tip and root finish, material, body thickness, and grip with the intended action. Close spacing also makes narrow gaps and roots important inspection areas.
Choose the single zone when adding wider teeth would shorten the working area that the user relies on. A tail comb is a useful example of the space trade. The tail, grip, and fine teeth share one overall length, so every feature needs an intentional allocation.
Choose a wide-only layout for broader separation
A wide-only layout gives broader separation most of the working length. The product can be handleless, handled, curved, compact, or developed for a defined wet or dry routine. Tooth proportions, body shape, material response, and smooth contact areas still decide the finished result.
A wide layout can support a detangling brief, though spacing by itself does not prove detangling performance. Grip, curve, contact path, movement, material response, and use condition also need review. The wide-tooth and detangling comparison separates those two project directions.
Give the single wide zone priority when broad separation is the clear task and a fine section would see little use. The benefit comes from a continuous working area and a simpler orientation for the user.
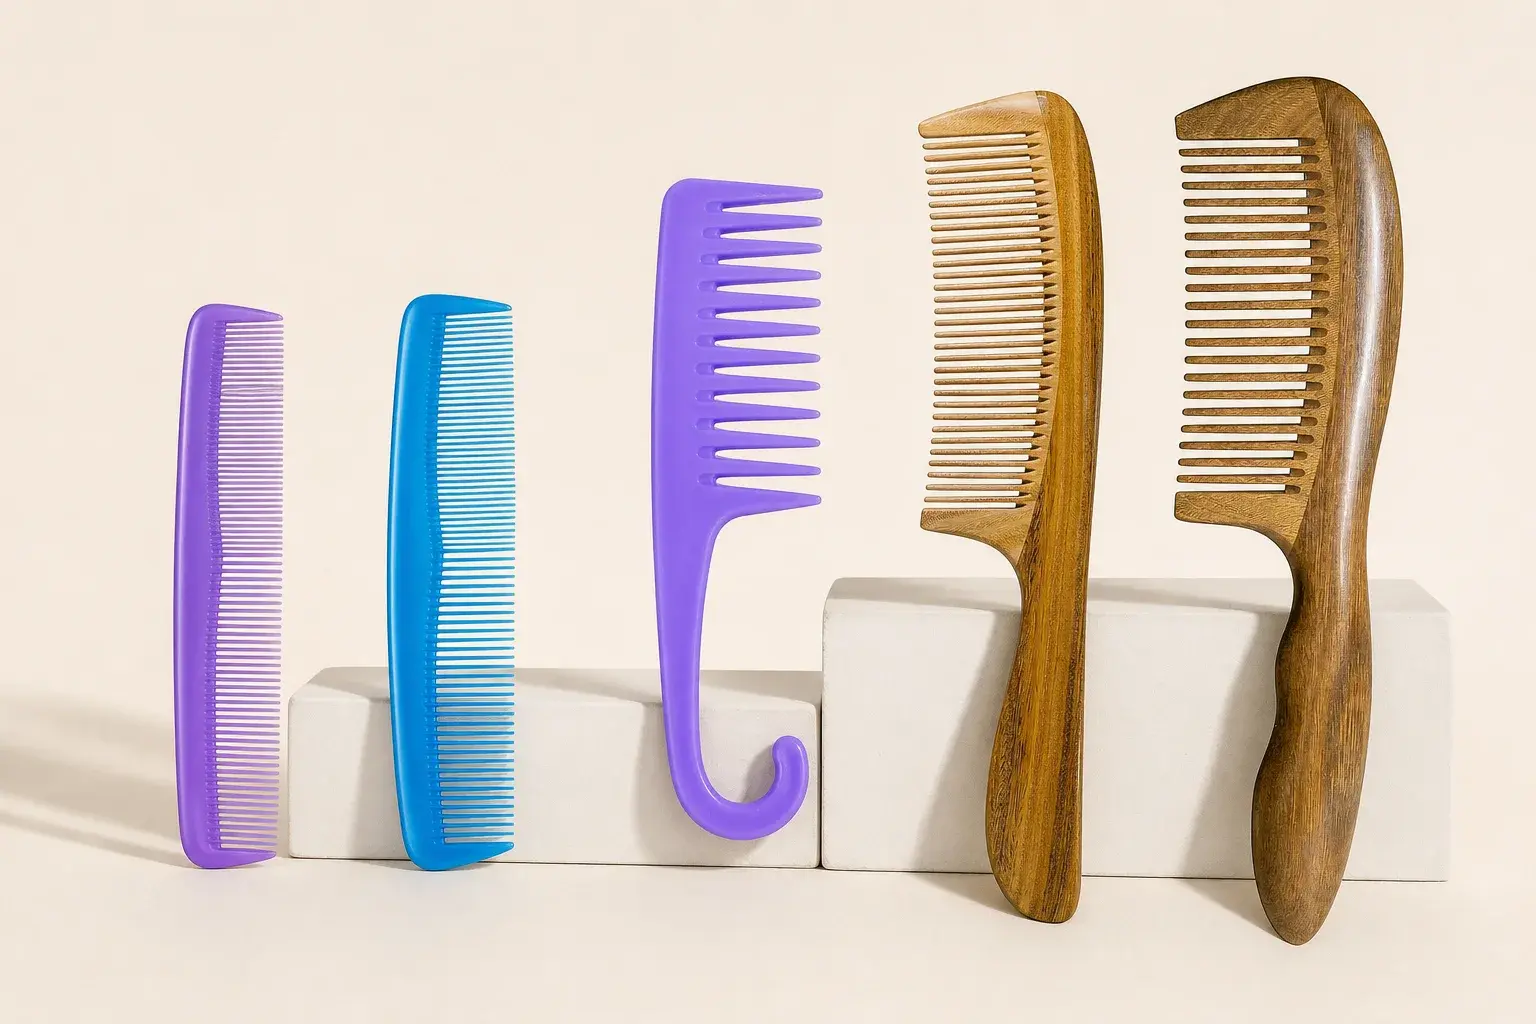
Choose mixed teeth for two real tasks
A mixed comb should answer two simple questions. What does the fine zone do? What does the wide zone do? If the brief gives both zones the same general purpose, the second section may be using space without adding a distinct action.
Mixed layouts appear in professional cutting combs, beard combs, pocket formats, and other designs. A cutting comb may allocate separate lengths to fine and wide work. A beard comb may use one zone for moustache detail and another for beard passage. A compact carry product may accept shorter zones because portability matters to the brief.
Name the primary zone even when both tasks matter. It usually deserves more working length or the position that the user reaches first. The secondary zone then receives enough length to perform its own task without turning the product into a crowded collection of features.
Budget the available working length
Begin with the overall body and subtract the areas already claimed by the handle, tail, end margins, hanging hole, pivot, protector interface, or other fixed feature. The remaining space is the working length available to the teeth. A mixed layout divides that remainder again.
This table keeps the main trade visible during concept review.
| Layout | What receives the working length | What the sample should prove |
|---|---|---|
| Fine only | One close-control or finishing zone | The zone is long enough for the named task |
| Wide only | One broad-separation zone | The tooth and body proportions suit the named use |
| Mixed on one side | Two zones plus a transition along one working edge | Each zone is usable and the transition is clear |
| Mixed on opposite sides | Two zones around one spine or body | The grip and orientation work from both sides |
There is no universal minimum length for these zones. The right value follows the product task, body format, material, and approved sample. Record the working length of each zone on the drawing once the concept has passed selection.
Place the transition and orientation deliberately
A same-side mixed layout needs a defined point where one tooth zone becomes the other. Show the transition tooth or space, the order of the zones, and any change in tooth length or profile. Check whether the hand can find each section without blocking it.
An opposite-side layout gives each zone a separate edge. It also changes how the user holds, turns, and reads the comb. Mark which side carries the primary task, where the grip sits, and how branding or decorative features show the orientation.
The transition is part of the working structure. Inspect its roots, tips, alignment, edge condition, and connection to the body. A visually neat split can still interrupt the useful movement if it falls in the wrong place.
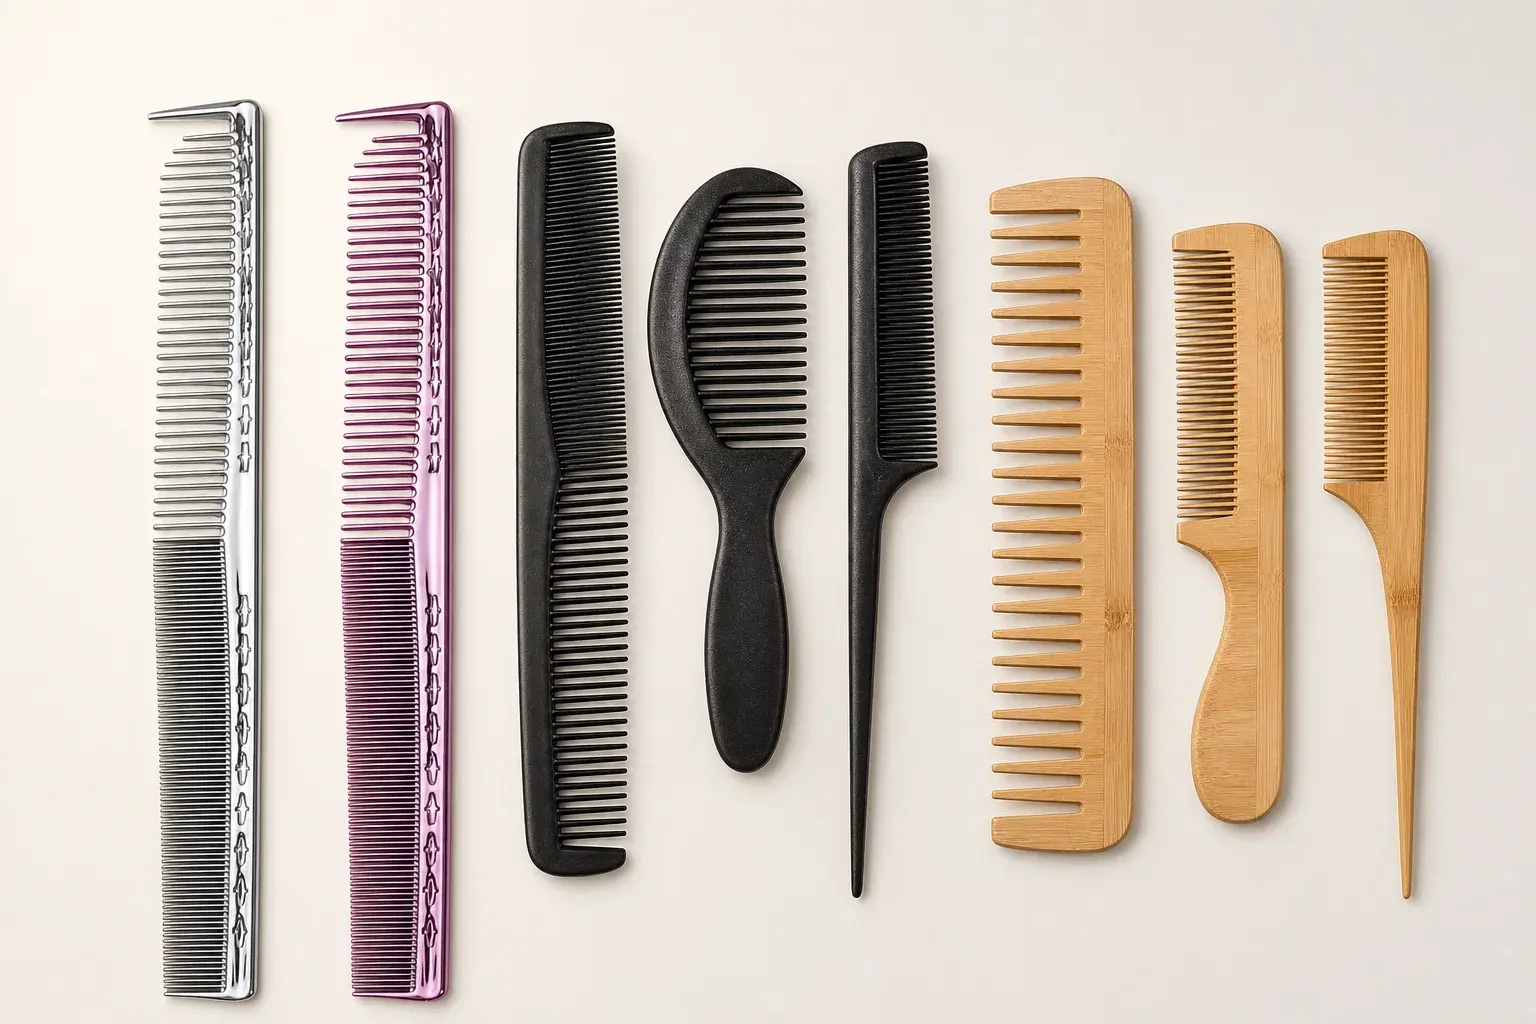
Match the layout to the product format
The same tooth map can make sense on one format and feel cramped on another. Professional cutting combs can use a longer body to carry deliberate fine and wide sections, straightness requirements, spine dimensions, and guide areas. Tail combs reserve substantial length for the sectioning tail.
Pocket and beard combs work inside a compact carry envelope. A pocket comb must also fit its sleeve or case. A beard comb may need distinct moustache and beard zones, close-use edge finish, a small grip, and room in a grooming set.
Handles consume body length and can improve orientation. Handleless designs preserve more length for teeth and may rely on the spine or end profile for grip. Choose the complete format before treating zone length as an isolated number.
Match material and finish to each zone
Plastic, cellulose acetate, wood, and bamboo can support related layout ideas through different production routes. The feasible tooth detail, body strength, straightness, surface, and finish need review for the selected material.
Fine teeth place close gaps, narrow roots, alignment, burr condition, and edge finish under greater scrutiny. Wide teeth bring tooth length, taper, root support, tip profile, and body response into view. A mixed layout asks one material and body to support both zones and the transition between them.
Review the drawing and physical sample together. Molded plastic, machined and polished acetate, and shaped wood or bamboo should carry material-specific finish references. The material selection page explains the main routes and the order evidence that may be required.
Draw the selected layout on one revision
After concept selection, give every zone a name and purpose. Mark its start, end, working length, tooth count where useful, spacing convention, tooth length, width, taper, root, tip profile, and relation to the body. Show the mixed-zone transition directly.
Keep the overall envelope, thickness, handle, tail, end profiles, grip, branding area, holes, moving parts, and package interface on the same controlled drawing. The custom shapes and sizes page shows how these layers belong together.
Separate critical dimensions from preferred and open points. The supplier can then review material and process feasibility without quietly changing the task or shrinking one working zone.
Review the layout on a physical sample
A selection-stage sample should answer whether the zones make sense as a finished tool. Hold it in the stated orientation and use each section for its named action under the agreed condition. Check whether the working length feels sufficient, the transition is easy to locate, and the hand stays clear of both zones.
Then inspect the geometry and finish. Review tooth alignment, tips, roots, side edges, open gaps, straightness where relevant, body curve, grip, and any feature that changes orientation. Measurements and acceptance limits remain order-specific.
Record the approved sample with its drawing revision and close photographs. If a zone moves, changes length, or receives a new profile, review the grip, logo, package, and neighboring zone again.
Place branding and packaging after the working zones
Reserve the tooth roots, grip, guide areas, tail connection, and mixed-zone transition before placing a logo. Mark artwork size, method, orientation, and clearance on the approved drawing. A compact comb may have very little branding space once the working areas are protected.
The pack should protect fine teeth from pressure, keep wide teeth from catching, and hold a mixed layout in a clear orientation. Check sleeve insertion, case fit, card attachments, tray supports, closures, and removal area with the finished comb.
For a grooming set, list the exact comb, protector, and accessories in the approved configuration. A change to the comb length or zone arrangement can reopen the case and insert review.
Prepare the tooth-layout brief
Send the primary and secondary tasks, intended user, product format, available body length, fine and wide zone order, material preference, grip, artwork, package, quantity, destination, and any required documents. Include a sketch, reference product, annotated image, or drawing.
A fine-tooth project should explain the close-control task and required body format. A wide-tooth project should explain the broader-separation use and relevant wet or dry condition. A mixed project should give each zone its own job before exact dimensions are finalized.